I'm finally ready to put the warp on the loom. I decided to dress it front-to-back because 1) that's how we did it in class 2) that's how my 1949 instructions say to do it and 3) I didn't want to have to make any more equipment (to dress back-to-front it helps enormously to have a raddle).
I brought my first chain of warp to the loom, wrapped it around the breast beam, inserted my fingers through the cross, and carefully cut away my end tie, counting ties, and choke. The warp was now released! And that's when I realized that I didn't have my sleying tool near to hand. Crap.
It's critical not to let go of that cross section of threads. That's the only way you have of making sure you don't mess up the pattern. So I unwrapped it from the breast beam, captured the chain in my free hand, and retrieved the tool. Happily I made it back to the loom without dropping anything. Whew!
 |
| Carefully holding the cross in my left hand |
 |
| Pulling a thread (or "end") through the reed |
I made a good start, got that first section of warp done, and took a break.
 |
| Sleyed |
Over the next several days I worked at the loom in small segments of time to sley the rest of the reed. I got progressively quicker and neater as I went along. Which is great because that first section was a mess. Can you see how twisted it looks?
 |
| Bright warp |
Once the reed was sleyed it was time to thread the heddles. I've already mentioned that each shaft has a different color scheme for the heddles. This made it much easier to follow the pattern. I wrote it on a piece of paper with shaft number and associated color, then figured out how many heddles I needed on each shaft. Once I had that figured out, I started to thread.
 |
| Found a footstool just the right height |
 |
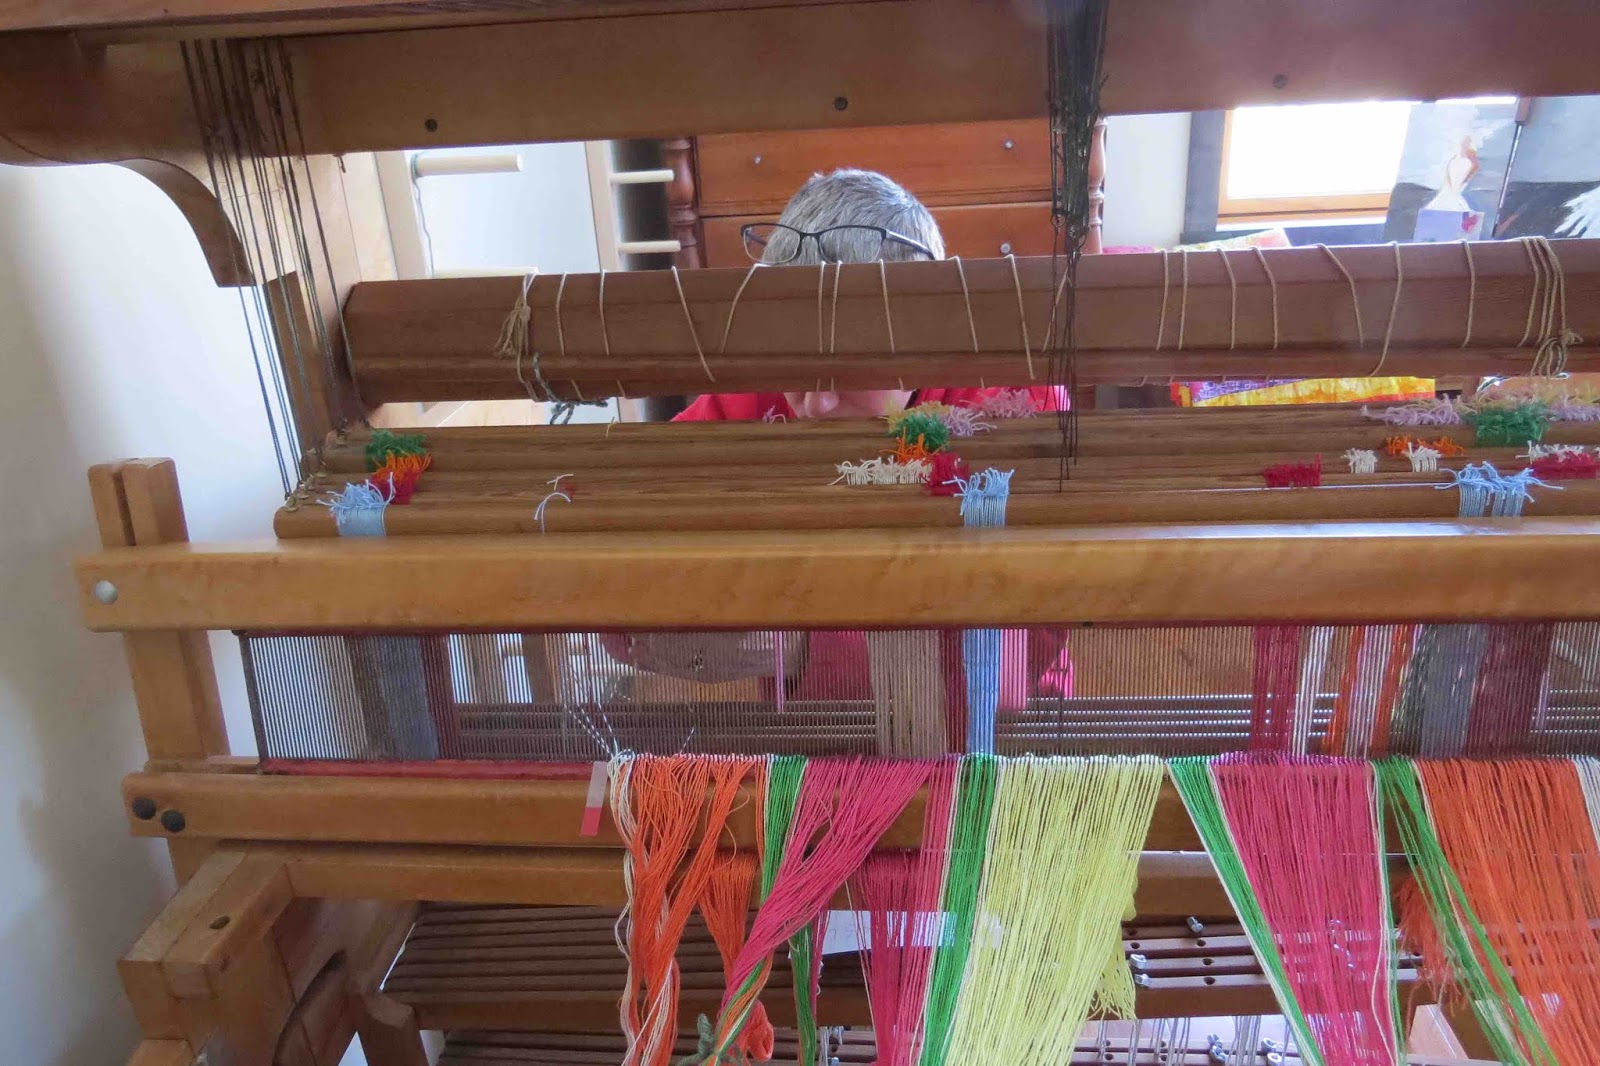
| Hiding behind the loom (and that darn twisted warp) |
After many days (with much time spent away from this task in an attempt to keep it from killing my back) I had it all threaded. Success!
 |
| Way more messy than it should be |
Or so I thought. When I went to try to put it on a rod so I could wind it onto the back beam, I discovered the dreaded threading error. Right smack in the middle of the warp. Of course.
 |
| Cleaning up |
So I went back and started cleaning up my mess. This is much closer to what it should have looked like all along. If I'd done a better job straightening the threads and tying the groups I probably would have found the error much sooner (or not made it at all). I also discovered that I prefer to thread from left to right - it's been much easier keeping things neat.
I tell myself that's how we learn - we screw up royally and have to fix it. And given the amount of time this has taken to correct, it's been a valuable lesson indeed.


I've always thought weaving would be a wonderful thing to try, picturing myself serenely throwing the bobbin back and forth and pushing the pedals, tamping it solid. But now that I've seen all the work that goes into it before even beginning to weave!!! I think I'll pass, and watch the lovely work you're doing. What a huge job, getting it all set up. I'm so impressed with your patience.
ReplyDeleteDon't let my newbie mistakes dissuade you! I'm confident that it gets better as experience is gained. Plus you can do neat things like wind 10 yards of warp and make lots of stuff before you have to wind another.
Delete