Showing posts with label Pottery. Show all posts

Thursday, October 13, 2022

Glazing the next batch

We realized we needed to make kiln cookies before we fired the next batch of glazeware. Kiln cookies protect your shelf in case of glaze drips and we had some pieces that were 100% covered in glaze - the scoops for example. So took a break to make some and then a few more pieces so we'd have enough to do a bisque fire. 

Perhaps we should have double fired the scoops instead? They're in the kiln so we'll find out soon.

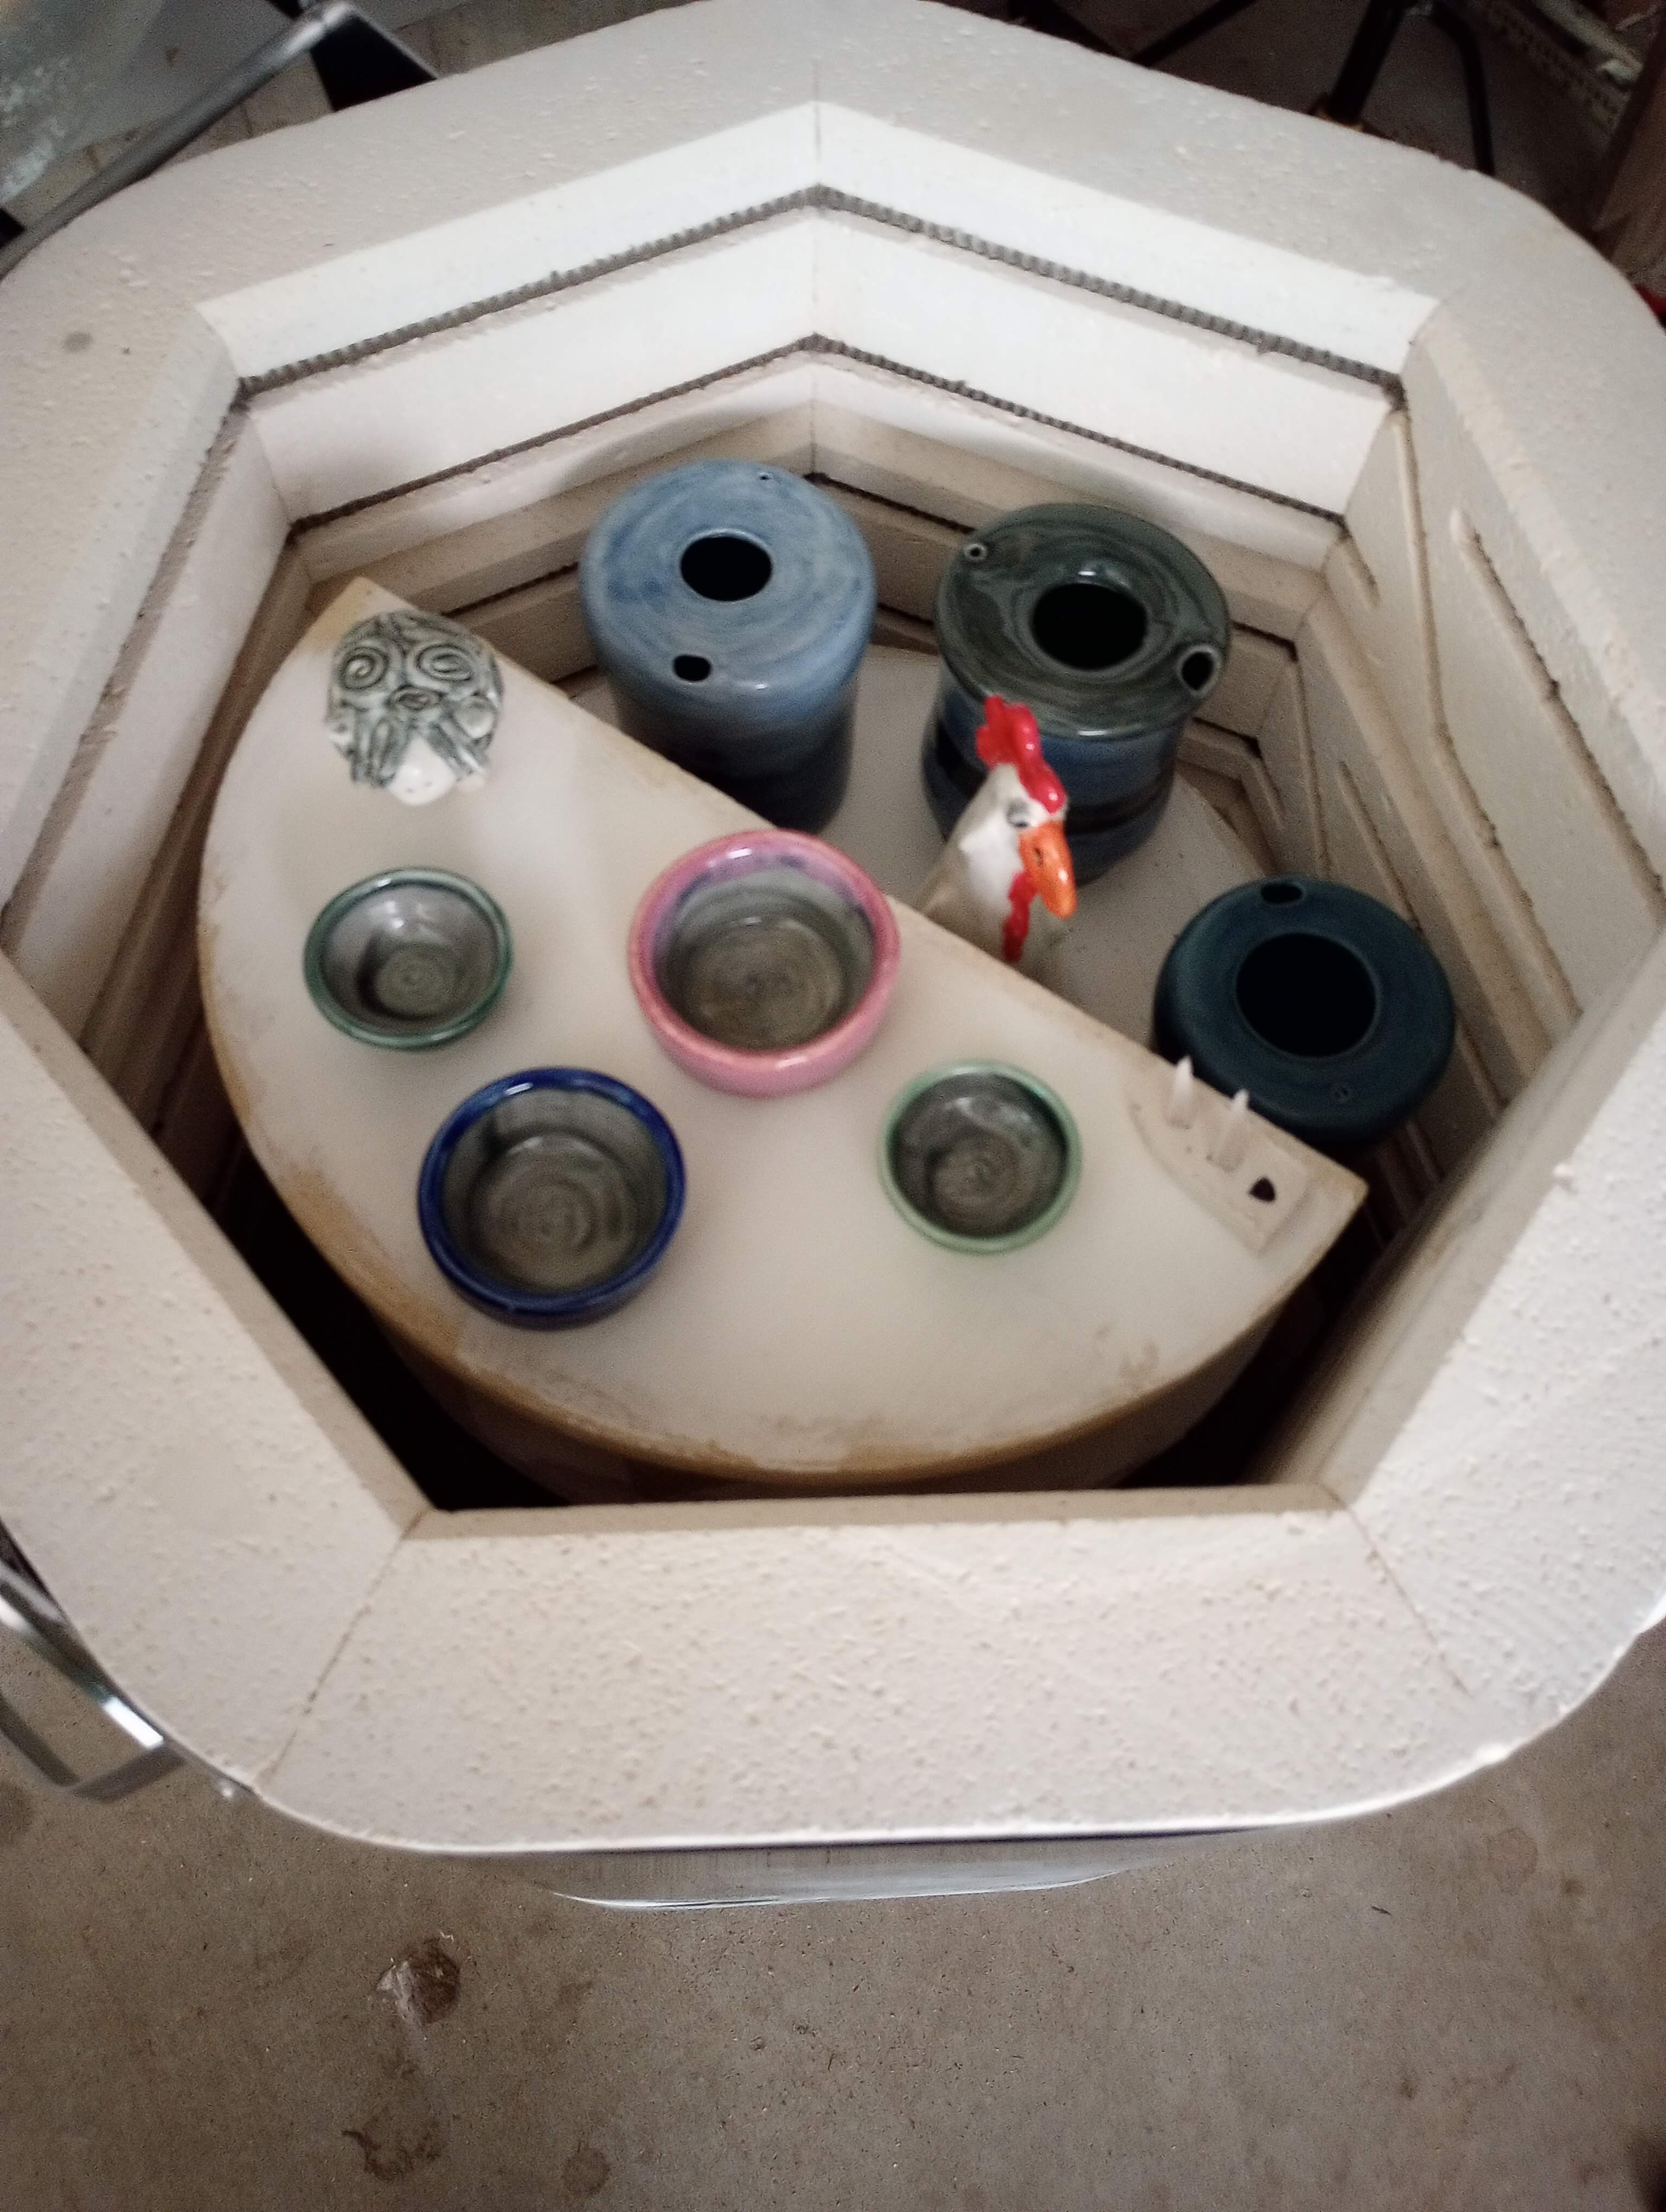
A full kiln load - it's a small kiln!

Scoop

Interior: Dark blue SM-21, poured

Exterior: Cobalt Celedon C-20 x 3

Exterior Bottom: Downpour C-25 x 2 plus some zigzags

Love this exterior color

Large Scoop

Interior: Dark blue SM-21 x 3

Exterior: Smoke C-3 x 3; Charcoal C-5 x 3; plus charcoal overlap

Medium Scoop

Interior and Exterior: Rainforest x 3

Small Scoop

Interior: Jade C-47 x 3

Exterior: Jade C-47 x 3

Handle & lip: Charcoal stripes x 3

Handle & exterior edge: Blue-green SM-29 x 3

Splotchy - likely the brush I used

Crock

Interior: Charcoal, poured

Rim: Charcoal x 1; Rainforest x 2 plus inside 1" x 1

Exterior: Rainforest x 3

Lid top Charcoal x 1, Rainforest x 2; Lid knob Charcoal x1, Rainforest x 2

Broke nicely on the texture

Large-mouth Funnel

Rim: waxed top 1/4"

Interior: Gloss White x 2 plus drip decorations of Cash Money Blue

Exterior: Cash Money Blue x 3

Bottom lip: Cash Money Blue x 3, Glass White x 1

Oh my. Failed with the bottle application. No run.

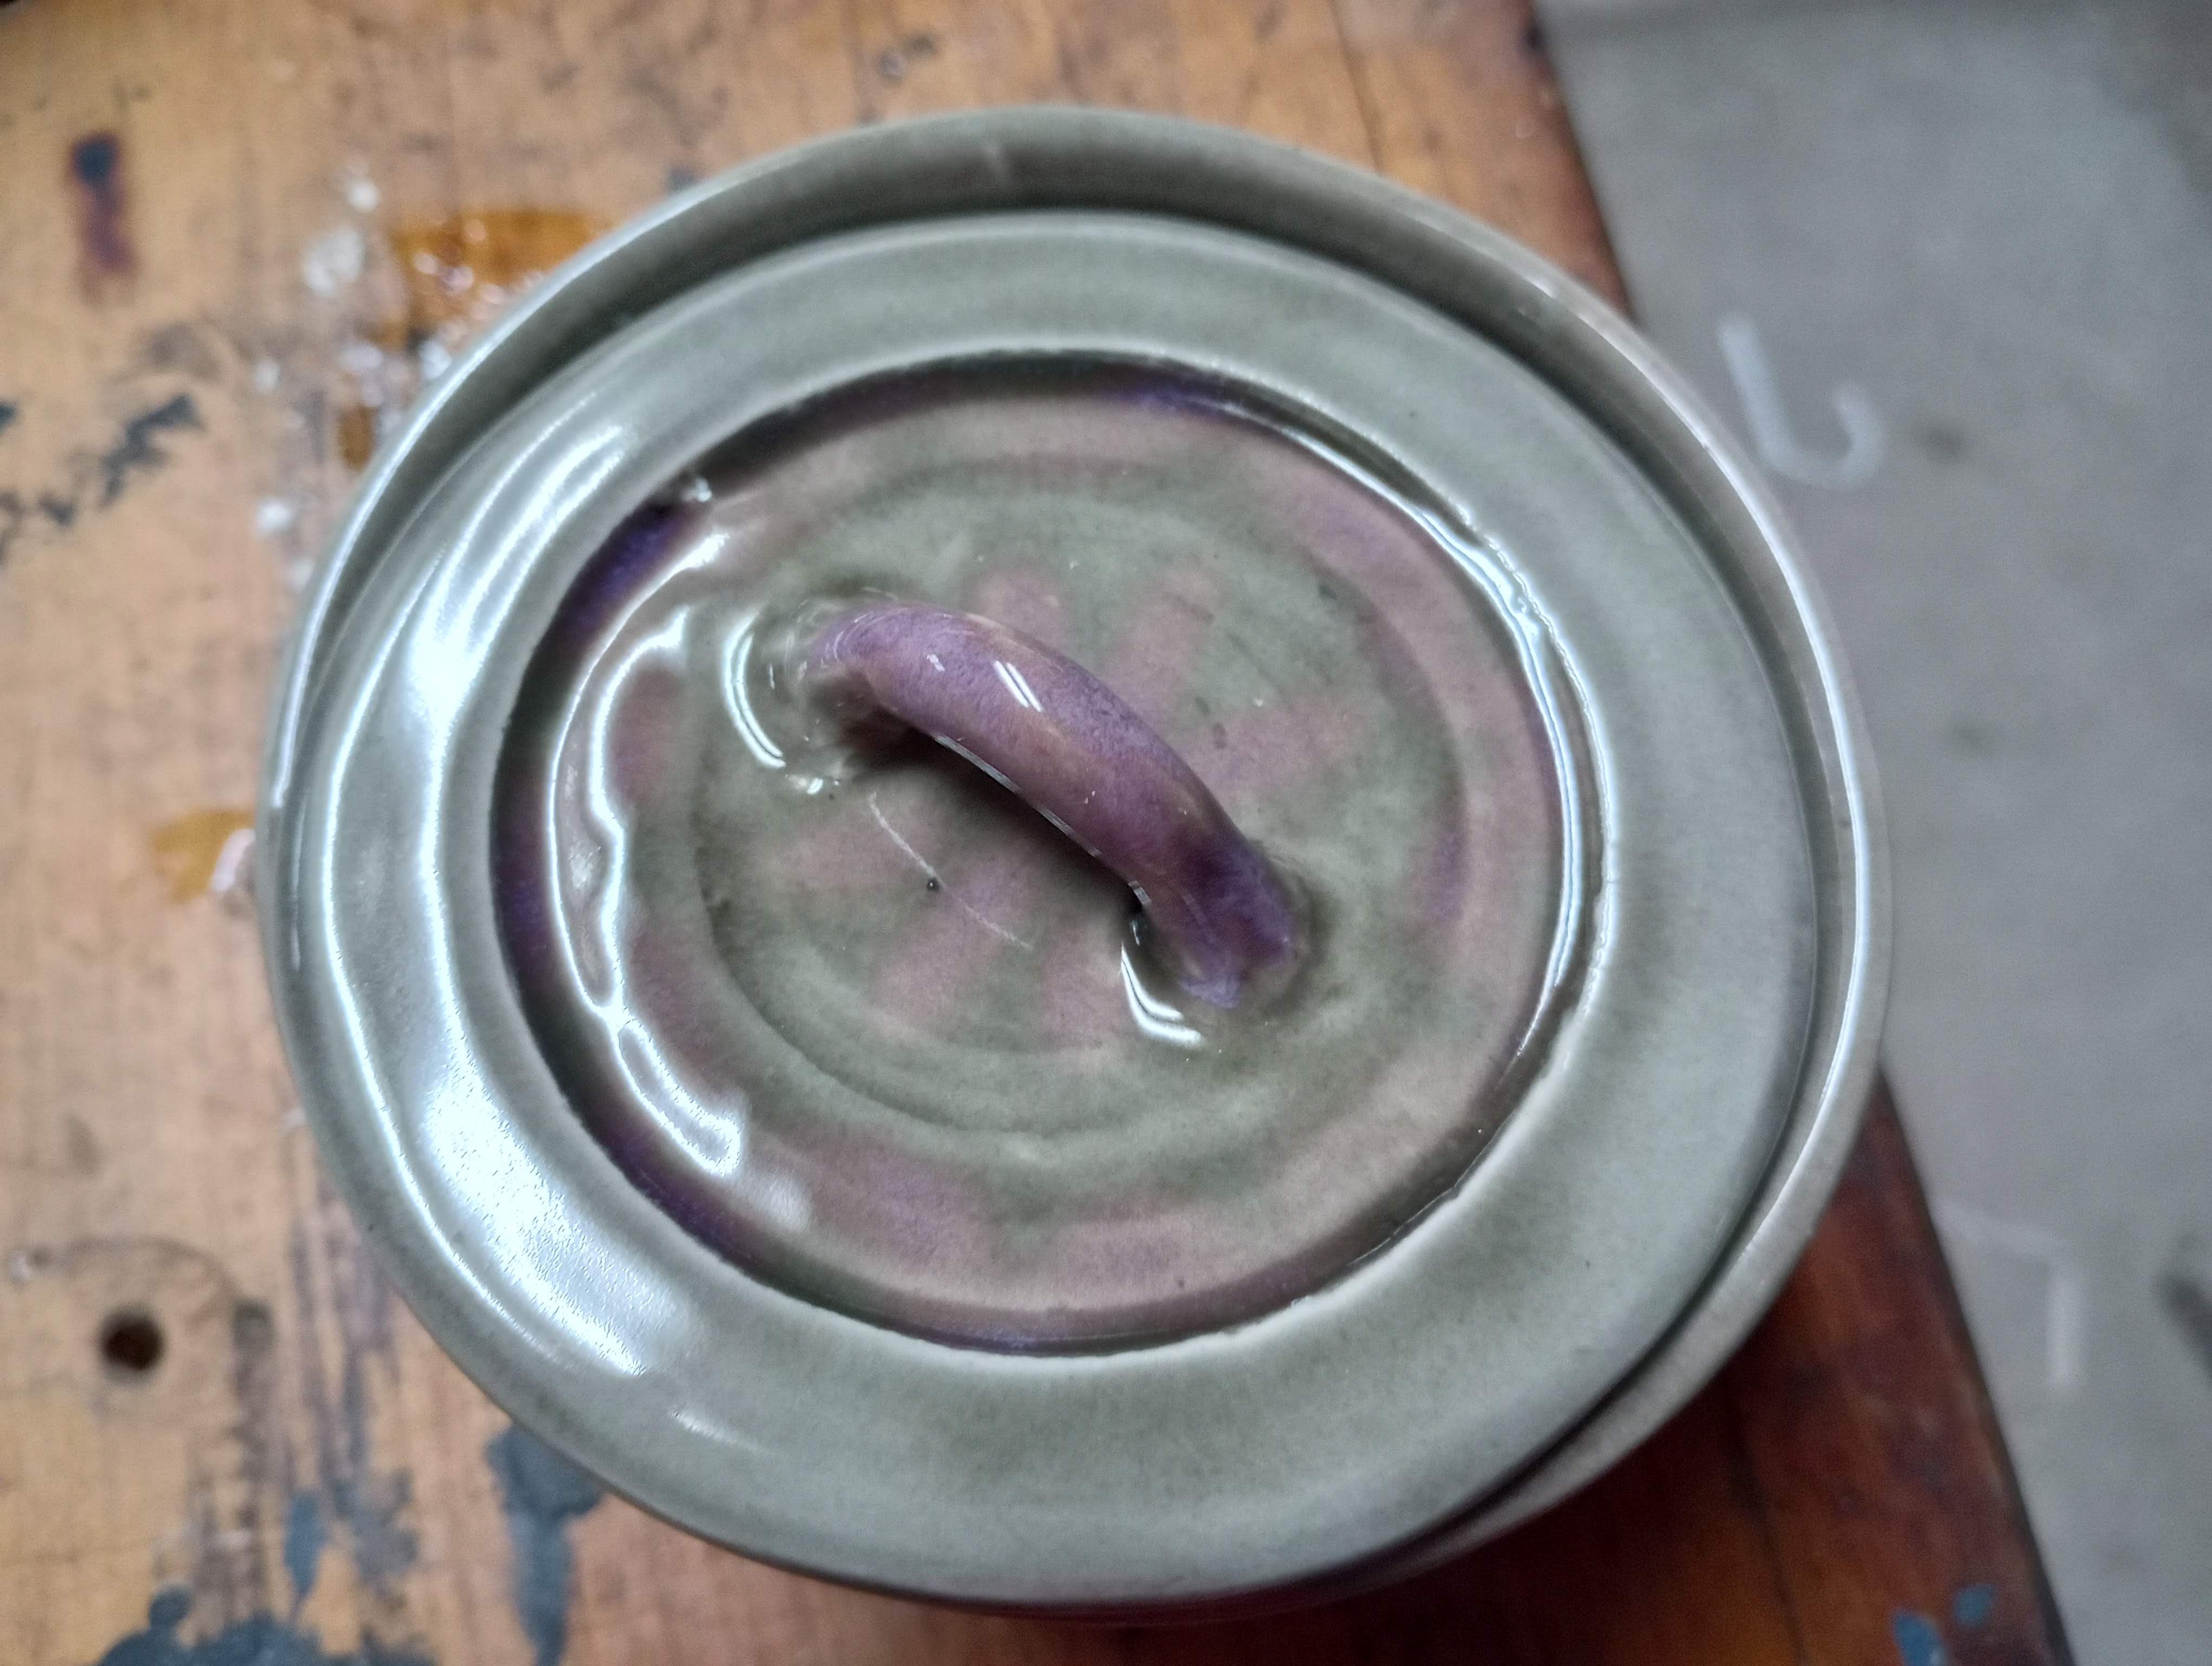
Crock

Interior: Smoke, poured then lightly brushed

Exterior: Smoke x 3, Textured Burgundy x 1 with drips encouraged

Lid top Smoke x 3; Lid handle Texture Burgundy x 1; Lid bottom Cash Money Blue x 2

This just came out bad
Think it needs more coats of the Texture Burgundy

Splat

Underglaze decorations on top with Clear x 2 over them

Oddly rough on the outside blue - not mixed enough?

Scoop

Underglaze flower and handle details with Gloss White x 2 over them

Like the antique effect of white over underglaze

Soapdish

Bottom: Cash Money Blue x 3

Top: Haven't fired yet

Great rich color


Obviously we had some issues with the kiln stilts. The wire we used was simply too thin to support the weight of even the small scoops. So they fell and stuck to the kiln shelves. Bummer. Chris sanded them and they'll be fine for my intended use but we're making new furniture with heavier gauge wire. 

We've also got some learning to do on the application. Some of the glazes covered great and I'm convinced it's because I used the hake brushes instead of the cheap artist brushes. They hold more glaze and it glides on more smoothly. I've since ordered more of those.

Kiln cost to fire $3.04

Sunday, August 28, 2022

The first firing

Our first time firing the kiln! So cool. Started it at 3pm Saturday, it reached Cone 6 temp at about midnight, and cooled to 130 degrees by 3pm Sunday.


Oooh. Love the chicken peeking out.

These are the four prep bowls. They came out quite nice and I like the colors. We learned some stuff with this firing. We're brushing on the glazes as we don't want big containers of glaze sitting around the house. We got quite a few brush strokes especially on the interior. I think I made two mistakes - 1) I didn't let it dry well enough between coats and 2) I didn't brush on enough coats. 


Large: Textured burgundy
Medium: Cobalt
Small left: Rainforest
Small right: Jade
All have Smoke inside

I got some interesting pooling in the left one but you can't see the swirl I added. The dots in the right one are just visible. I like the effect.


The travel mugs came out nice but we've got brush strokes again. 

Left: Blue green top, Cash money bottom
Center: Downpour top, Blue green bottom
Right: Downpour all over, stripe Charcoal

Aren't these adorable? I use bits of leftover clay to make pinch-pot animals. I've got quite a flock going (the pig suggests an expansion to full barnyard). The clear glaze slightly obscured texture. Sheep, pig, and ram are underglaze then coated in clear. The sheep at far right is Charcoal Celedon and White glaze.


Toast! Yup, plates for breakfast toast. Too cute. These are underglazes (mixed brown, white, black) covered by Clear glaze.


And this fine lady is a garden chicken. The bright colors are underglazes. They really pop!


Here she is in her natural habitat. 


Here are the firing statistics:
Start at 3pm
Cone 6
No warm up
No hold
Top temperature 2228
Firing time 9.04 hours
Firing cost $3.40 (based on our electric rate of $.14 per kWh)
Total time load-to-unload 24 hours.

We've got more pieces ready to glaze so we'll get to make some improvements in technique and do some more experimenting. I particularly want to see what happens if you do an underglaze and then a coat of White glaze. Will the colors still show well? Look too muted? We'll find out.

Saturday, August 27, 2022

Figuring out the glazing process and documentation (which we suck at)

We decided that buying a kiln made more sense than continuing to use the community kiln. It mainly came down to convenience, cost, and ambiance. Ambiance??? Yup. Both of us admitted that we always felt rushed when using the glaze room. Part of it is the simple fact that we know very little about glazing. It's a trial and error kind of process at our skill level. So being able to stay home, take our time, and experiment with the glazes is really nice. We're both enjoying the process much more. 

The kiln we bought is really small. Which also works with our pottery style. We're not production potters - we dabble. 

We're now trying to figure out the best way to document our projects so that we can learn from success and failure.

Here goes - and obviously taking a photo of the notes is not going to work. I mean, who can read that???
Small scoop: Charcoal (stripes) plus handle and lip (x3)
Medium scoop: Rainforest (x3)
Large scoop: Dark Blue inside (x3), Smoke and Charcoal exterior (overlapping, x3)

Left: Inside Blue Green SM-29
Outside Top Blue Green SM-29, Bottom Cash Money Blue
Center: Inside Downpour C-25, Outside 2x Downpour, Bottom Blue Green SM-29
Right: Inside & Stripe Charcoal C-5, Outside & over stripe Downpour C-25

XL: Smoke x3 inside, Texture burgundy x3 outside & rim
L: Smoke x3 inside, Cobalt x3 outside & rim
M: Smoke x3 inside, Rainforest x3 outside & rim & interior swirl
S: Smoke x3 inside, Jade x3 outside & rim & dots inside


Toast (4 plates) Underglazed in shades of brown then coated in clear


First load in the kiln!

Not pictured (because that process broke down quite quickly) are a wee pig, a wee sheep, another sheep, a ram, and a chicken. All of them were underglaze in various colors and then coated in clear. 

The glazes are all Amoco brand and the underglaze is Speedball. 


Monday, April 15, 2019

Plaster

One of the things you do when throwing pottery is make lots of wet clay. Something goes wrong on the wheel? Wet clay. Trimming a partially finished piece? Semi-wet clay. Just throwing in general? You'll wipe excess clay onto the rim of your water bowl regularly and get...wet clay. 

The good news is all that wet clay is reclaimable. You just dump it in a bucket with water (wetter clay!) and let it get really juicy. Then you put it on plaster blocks and let water evaporate until the clay is back to a workable state. Wedge it and use it again. Very little waste in pottery - at least until you get a piece out of the kiln and realize you hate the glaze you put on it. That's a different story though.

We'd been drying the clay on our marble wedging table but that wasn't working very well. For one thing, it ate up way too much space. When all that clay was spread out you couldn't use the table for anything else. So Chris decided to make up some plaster blocks of our own.

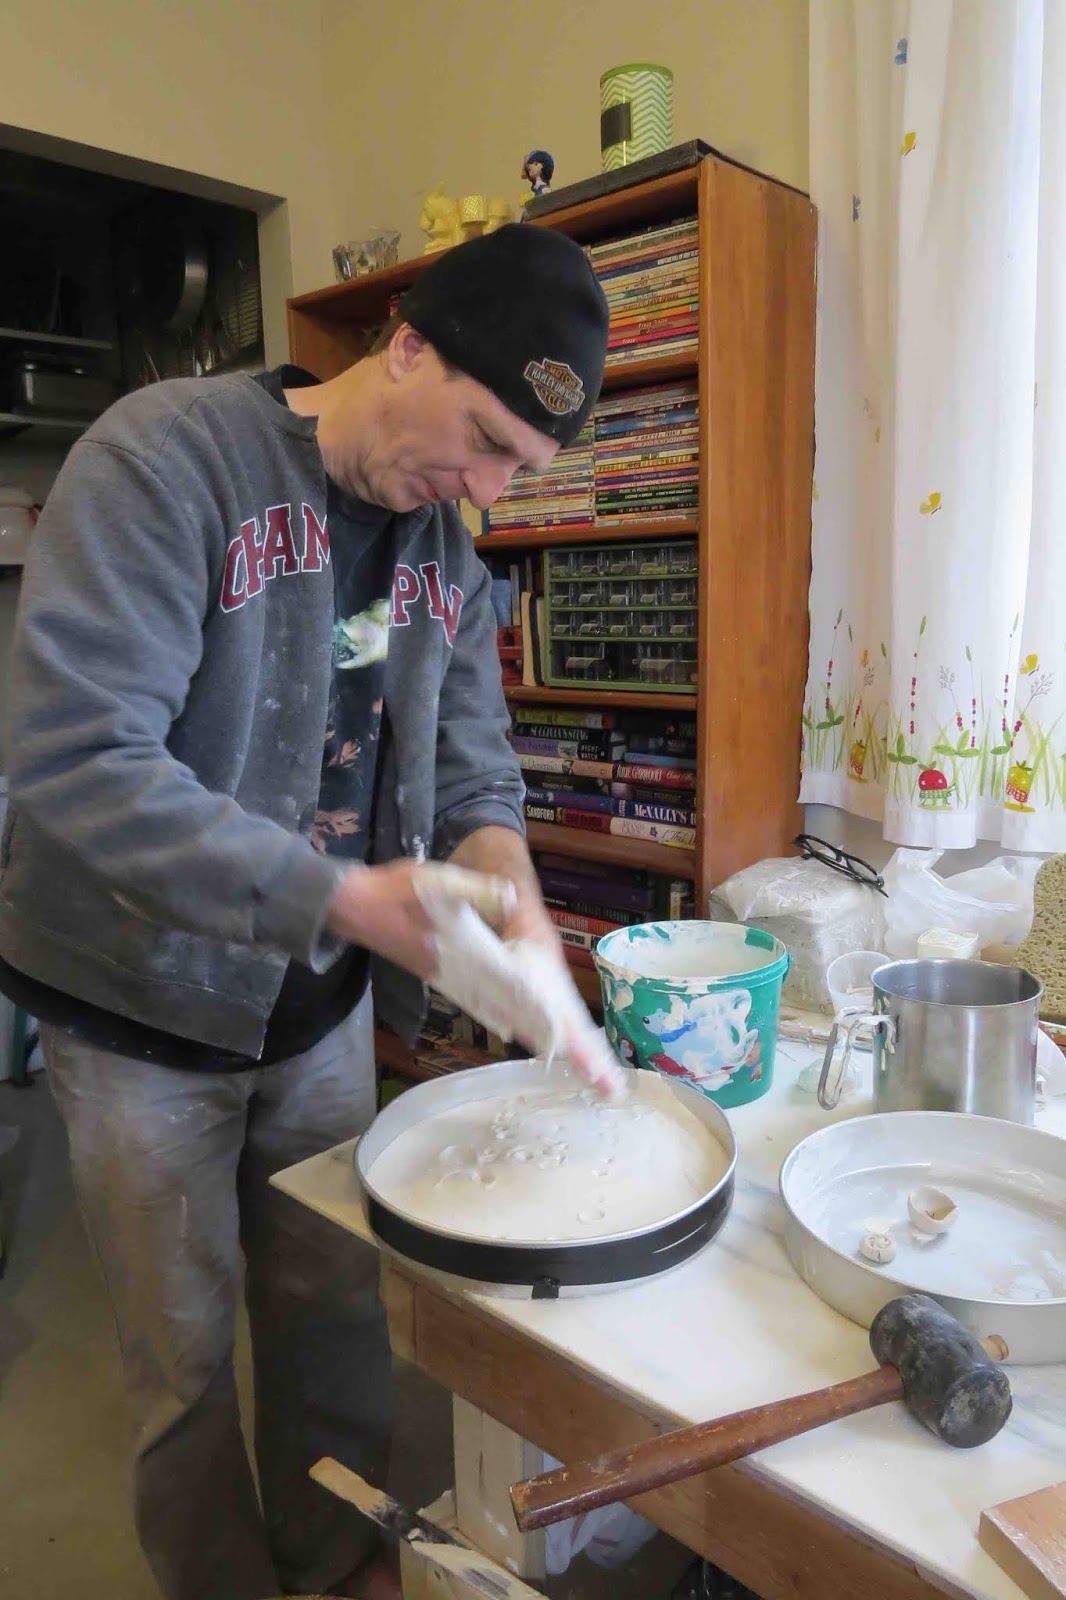
A quick trip to HD netted some plaster of paris powder (much cheaper than the stuff sold at craft stores) and I sacrificed a cake pan that I didn't like but that just happened to be the exact size needed to fit perfectly on the wheel. See, as long as he was going to be playing with plaster blocks he figured he'd make some actual bats as well. He'd read that if you used a plaster bat you didn't need to actually cut your work off the bat to dry it. You just let it dry right on the bat and the plaster would wick the moisture away from the bottom. When ready to trim, just pop it off. We'll see how that goes and report back later.

He mixed up a bunch of plaster in the famous 5-gallon bucket. Man these things are handy. Put a good coating of petroleum jelly on the pan as a releasing agent, and poured it in.

Looks like cake batter, doesn't it?
It was really goopy.
Getting it all out.
Then he did a test fit on the wheel - perfect size! Just had to let it dry.
Fits!
Unfortunately, when it came time to take it out of the pan, it was stuck. Firmly and completely stuck. A quick internet search gave us stuff to try if the plaster won't release: heat the pan to melt the jelly; bang the pan with a rubber mallet; pour on a bit of water and let it seep into the edges and release the seal; drill through the bottom of the pan and push it off. Tried them all; none worked.

So Chris cut the edges of the pan and and hinged it open. That worked!
You can just see the cut line at about 1 o'clock
Then he taped the pan back together, covered the holes in the bottom, and used it again. After all, now it would just hinge open and easily release the plaster. And he'd spaced the holes perfectly to sit on the bat pins on the wheel so it was still usable - cool!
He used electrical tape to hold the pan together.
While we had extra plaster we made a couple press molds. I used an interestingly shaped button for one and did a carving in the larger cupped mold.
Potential press molds
Once the plaster dries you peel off the clay and have a shape you can press into your leather-hard pottery. Then the shape stays there when fired. Kinda neat.
Making a grab handle
I'll show them in use later. We've also got some pieces back from the kiln that I need to get pictures of. So an update soon!

Wednesday, March 13, 2019

Pottery studio at home

The pottery wheel is all set up at home and we're starting to use it. Of course it becomes obvious as we use it that there are some tweaks that we need to do in order to improve it's functioning. Those will come along though and in the meantime we'll have some fun with it. 

Starting a bowl
Widening the base
Trimming
And now a cup
The room gets great sunlight and even the evening light is good with the two overhead lights I'd installed back when it was my project room. I wish I could say the same for the new project room upstairs! Definitely need to do some improvements in that area.

Wednesday, March 6, 2019

The Pottery Haul

Pottery class is over and we got quite a haul! We completed nearly 50 pieces in those six weeks and are really pleased with how it all turned out. We got teased a bit that we concentrated too much on functional stuff as opposed to art, but I like some function with my form. And since I'm not fond of dusting, anything that's not useful enough to get used regularly doesn't really fit my lifestyle. 

Anyway, here is most of it:

So many things!
Lids that serve as sipping cups (vessels still at studio)
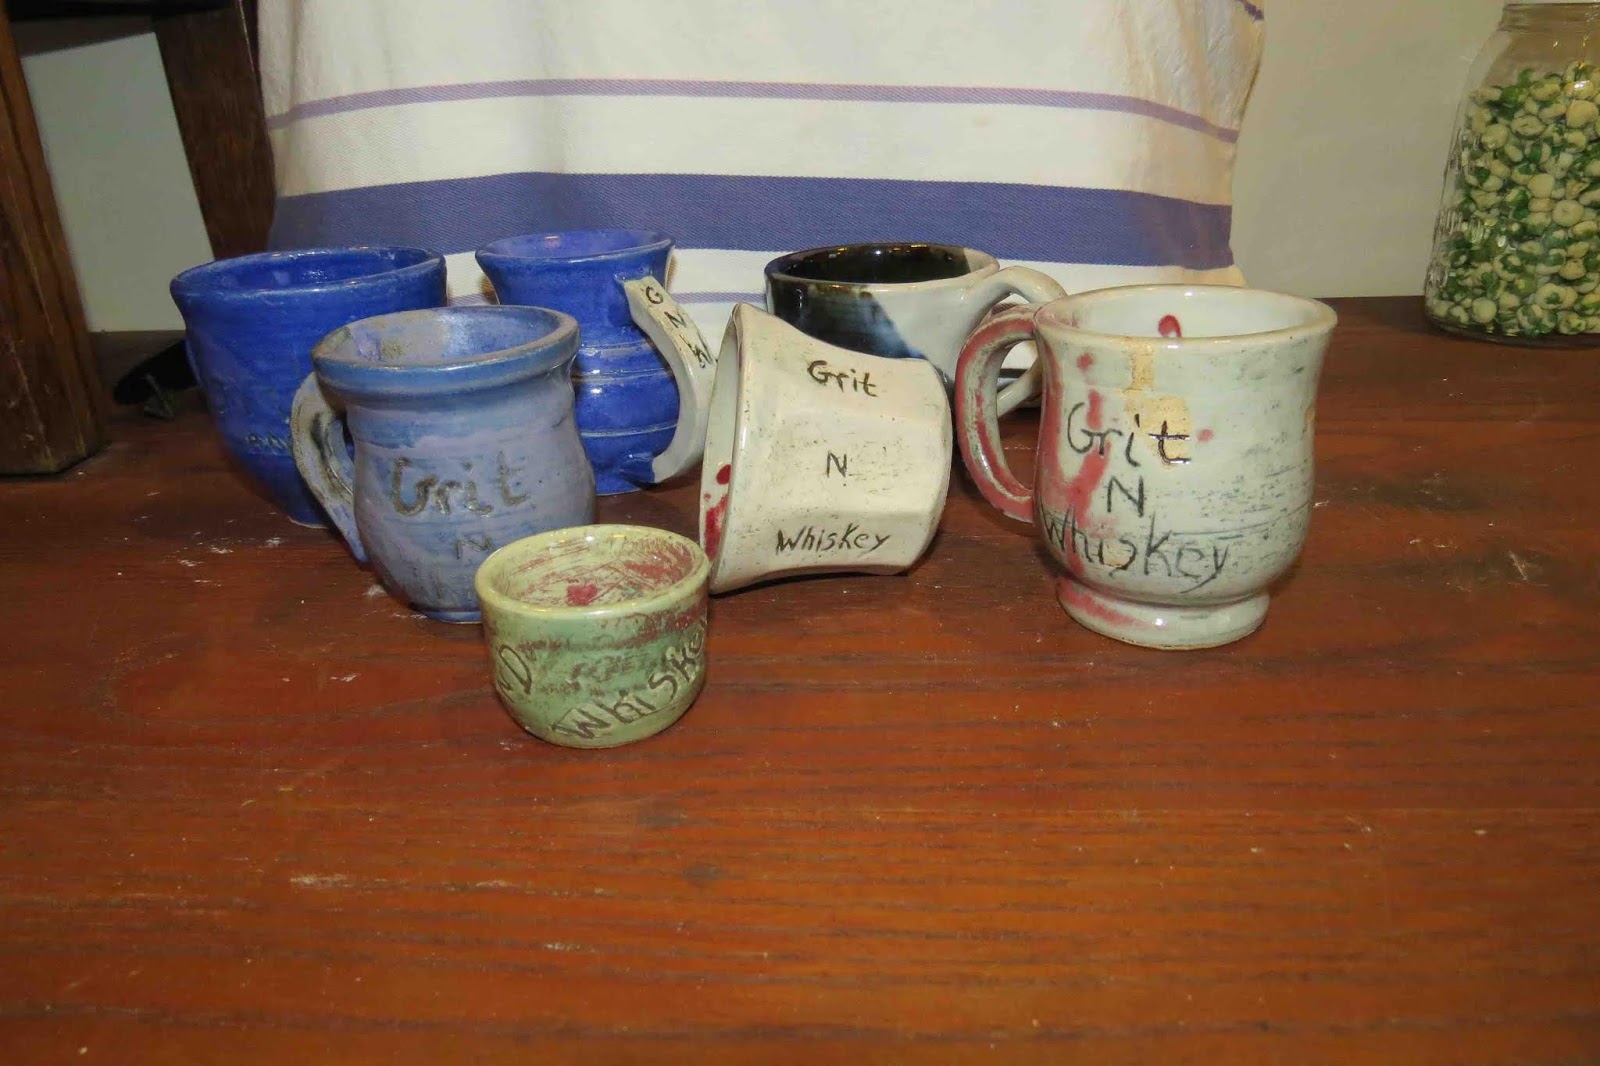
Coffe cups and drink glasses for Chris's band mates
Whiskey dram glasses
Artist paintbrush set
Accidental stacking bowls
That are tiny. Love these things.
Mini pots
Another ring bowl
Chicken bowl for chicken eggs
The vessel
Cup and saucer
Spice or ring bowls
We've still got a few things at the studio that are waiting for bisquing, glazing, and final firing. Most of my pieces were very small - saki cups, whiskey cups, ring bowls, spice bowls, etc. Chris did coffee cups, cereal bowls, toothbrush and soap dishes, and even a fermenting crock (still at the studio). We loved getting back into this and now that the wheel is set up at home we'll be continuing to throw.