Sunday, August 28, 2022

The first firing

Our first time firing the kiln! So cool. Started it at 3pm Saturday, it reached Cone 6 temp at about midnight, and cooled to 130 degrees by 3pm Sunday.


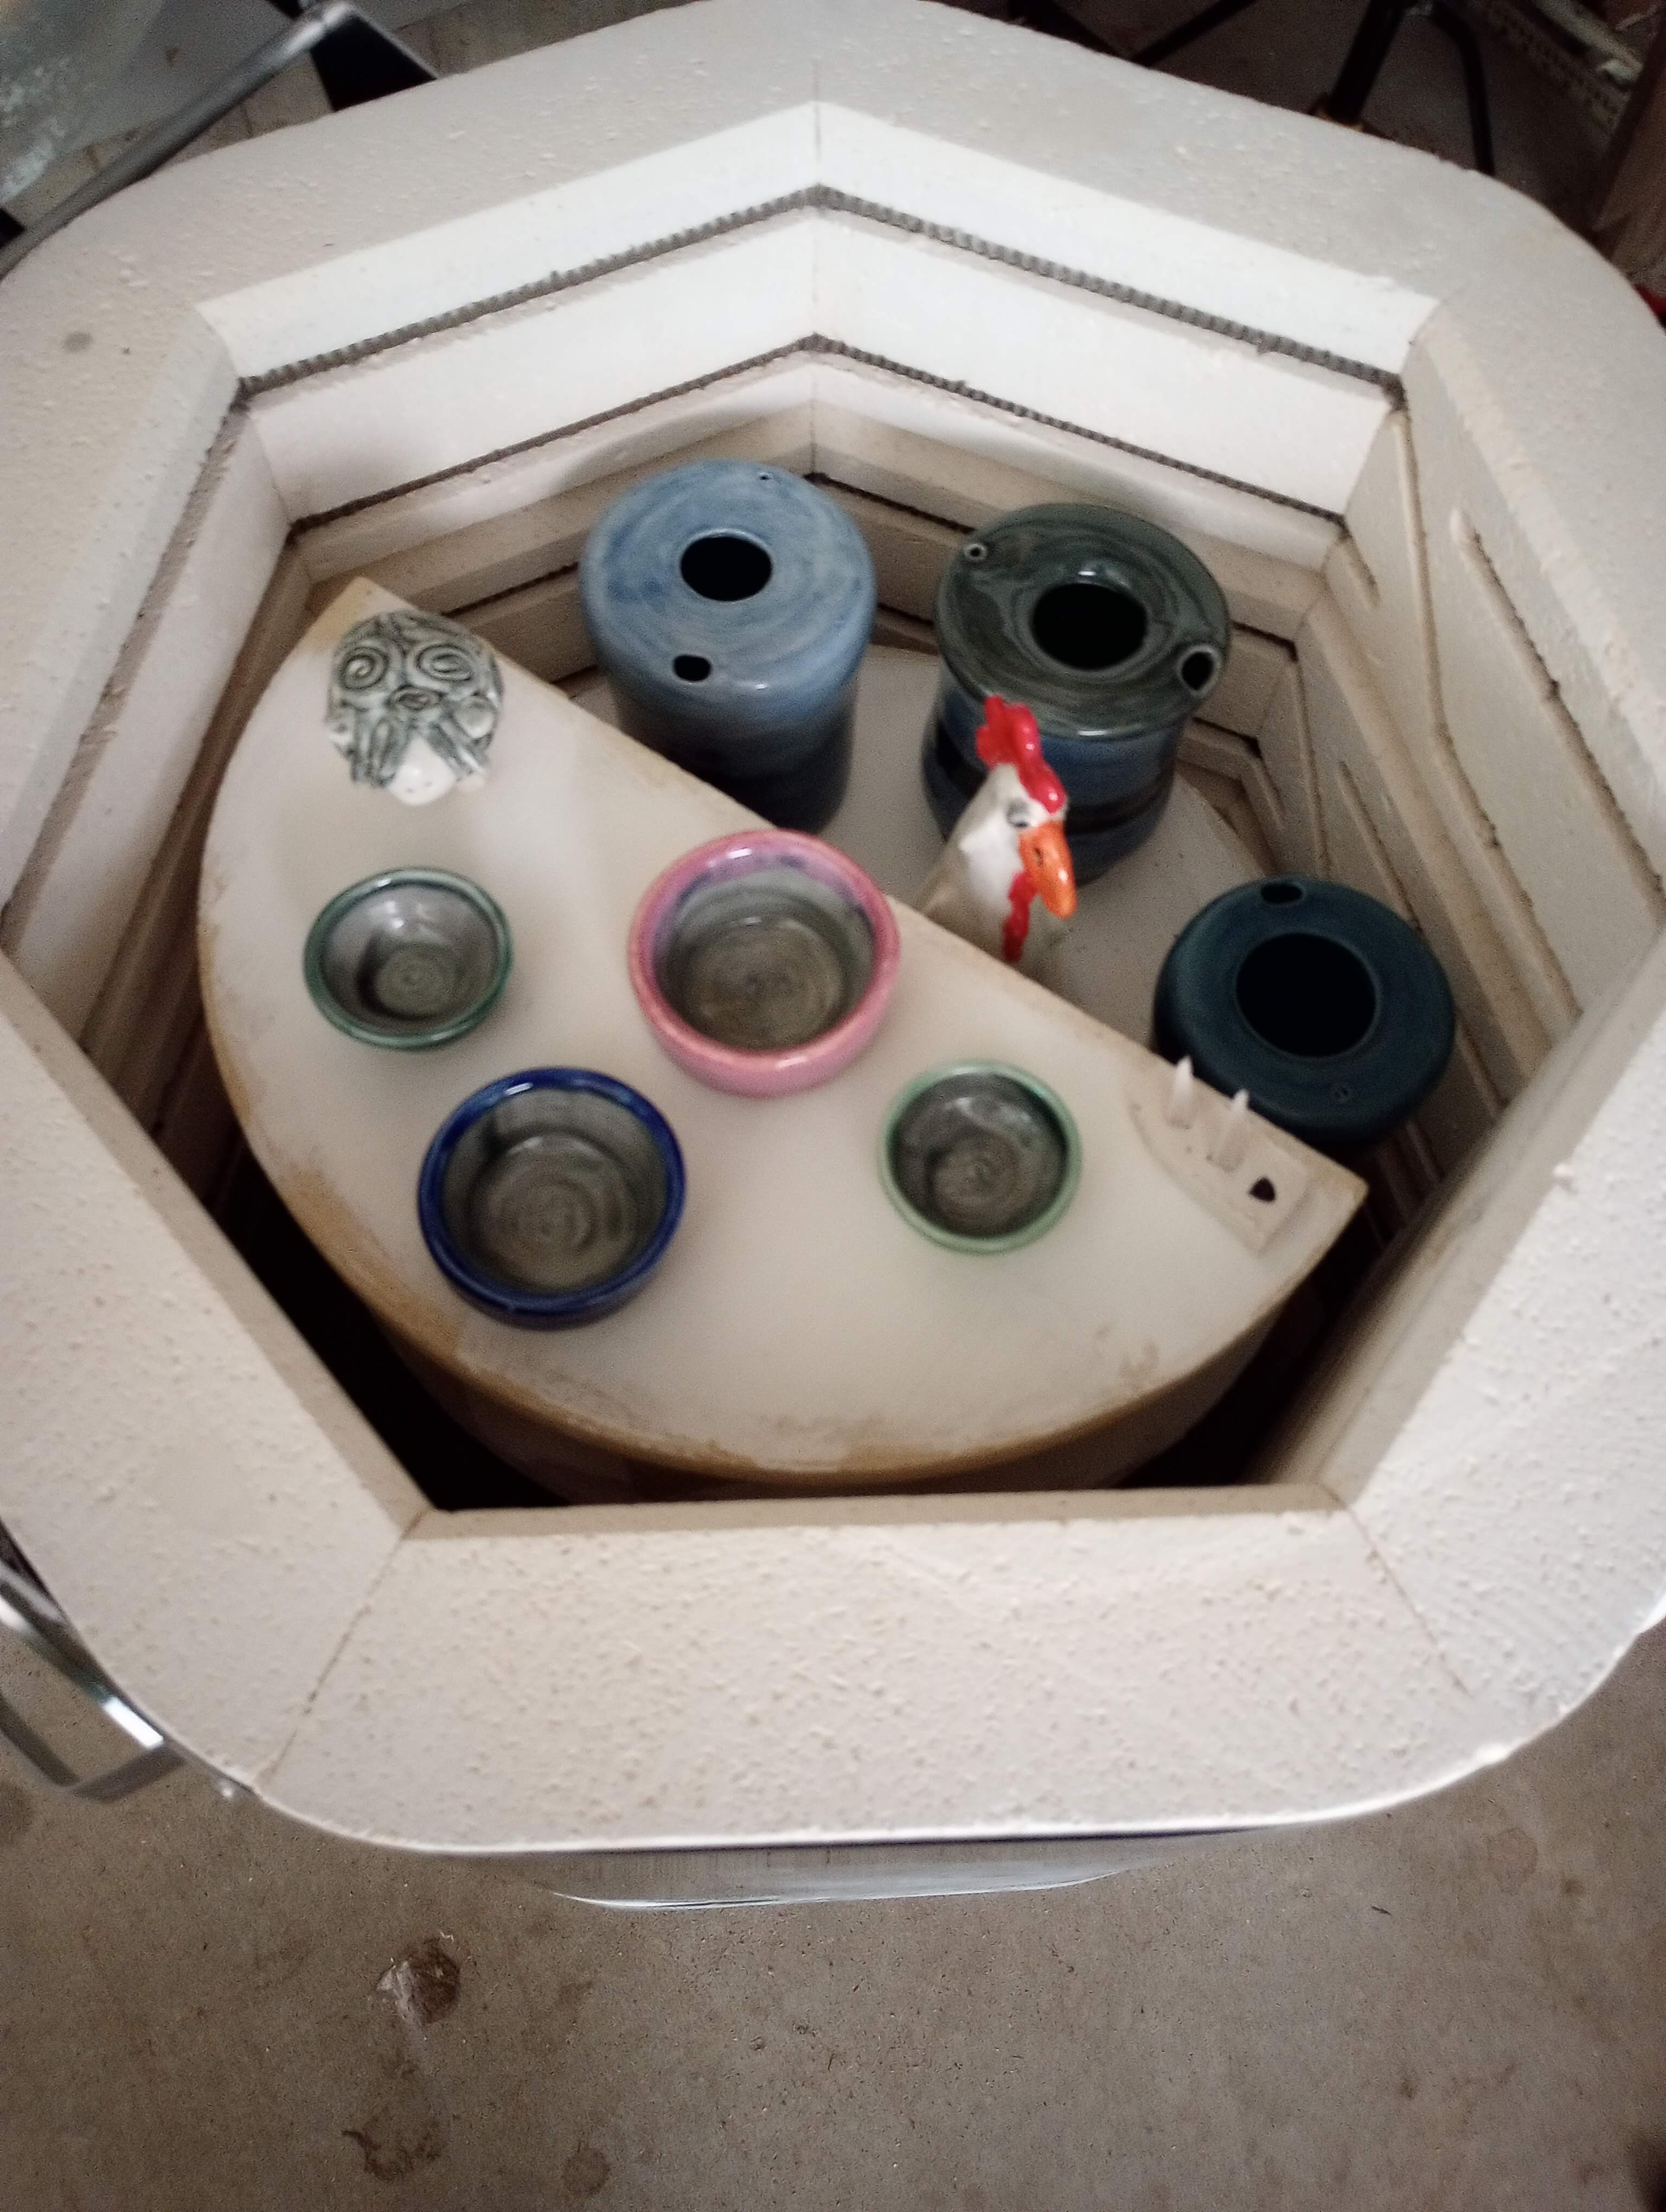
Oooh. Love the chicken peeking out.

These are the four prep bowls. They came out quite nice and I like the colors. We learned some stuff with this firing. We're brushing on the glazes as we don't want big containers of glaze sitting around the house. We got quite a few brush strokes especially on the interior. I think I made two mistakes - 1) I didn't let it dry well enough between coats and 2) I didn't brush on enough coats. 


Large: Textured burgundy
Medium: Cobalt
Small left: Rainforest
Small right: Jade
All have Smoke inside

I got some interesting pooling in the left one but you can't see the swirl I added. The dots in the right one are just visible. I like the effect.


The travel mugs came out nice but we've got brush strokes again. 

Left: Blue green top, Cash money bottom
Center: Downpour top, Blue green bottom
Right: Downpour all over, stripe Charcoal

Aren't these adorable? I use bits of leftover clay to make pinch-pot animals. I've got quite a flock going (the pig suggests an expansion to full barnyard). The clear glaze slightly obscured texture. Sheep, pig, and ram are underglaze then coated in clear. The sheep at far right is Charcoal Celedon and White glaze.


Toast! Yup, plates for breakfast toast. Too cute. These are underglazes (mixed brown, white, black) covered by Clear glaze.


And this fine lady is a garden chicken. The bright colors are underglazes. They really pop!


Here she is in her natural habitat. 


Here are the firing statistics:
Start at 3pm
Cone 6
No warm up
No hold
Top temperature 2228
Firing time 9.04 hours
Firing cost $3.40 (based on our electric rate of $.14 per kWh)
Total time load-to-unload 24 hours.

We've got more pieces ready to glaze so we'll get to make some improvements in technique and do some more experimenting. I particularly want to see what happens if you do an underglaze and then a coat of White glaze. Will the colors still show well? Look too muted? We'll find out.

Saturday, August 27, 2022

Figuring out the glazing process and documentation (which we suck at)

We decided that buying a kiln made more sense than continuing to use the community kiln. It mainly came down to convenience, cost, and ambiance. Ambiance??? Yup. Both of us admitted that we always felt rushed when using the glaze room. Part of it is the simple fact that we know very little about glazing. It's a trial and error kind of process at our skill level. So being able to stay home, take our time, and experiment with the glazes is really nice. We're both enjoying the process much more. 

The kiln we bought is really small. Which also works with our pottery style. We're not production potters - we dabble. 

We're now trying to figure out the best way to document our projects so that we can learn from success and failure.

Here goes - and obviously taking a photo of the notes is not going to work. I mean, who can read that???
Small scoop: Charcoal (stripes) plus handle and lip (x3)
Medium scoop: Rainforest (x3)
Large scoop: Dark Blue inside (x3), Smoke and Charcoal exterior (overlapping, x3)

Left: Inside Blue Green SM-29
Outside Top Blue Green SM-29, Bottom Cash Money Blue
Center: Inside Downpour C-25, Outside 2x Downpour, Bottom Blue Green SM-29
Right: Inside & Stripe Charcoal C-5, Outside & over stripe Downpour C-25

XL: Smoke x3 inside, Texture burgundy x3 outside & rim
L: Smoke x3 inside, Cobalt x3 outside & rim
M: Smoke x3 inside, Rainforest x3 outside & rim & interior swirl
S: Smoke x3 inside, Jade x3 outside & rim & dots inside


Toast (4 plates) Underglazed in shades of brown then coated in clear


First load in the kiln!

Not pictured (because that process broke down quite quickly) are a wee pig, a wee sheep, another sheep, a ram, and a chicken. All of them were underglaze in various colors and then coated in clear. 

The glazes are all Amoco brand and the underglaze is Speedball.