One of the things you do when throwing pottery is make lots of wet clay. Something goes wrong on the wheel? Wet clay. Trimming a partially finished piece? Semi-wet clay. Just throwing in general? You'll wipe excess clay onto the rim of your water bowl regularly and get...wet clay.
The good news is all that wet clay is reclaimable. You just dump it in a bucket with water (wetter clay!) and let it get really juicy. Then you put it on plaster blocks and let water evaporate until the clay is back to a workable state. Wedge it and use it again. Very little waste in pottery - at least until you get a piece out of the kiln and realize you hate the glaze you put on it. That's a different story though.
We'd been drying the clay on our marble wedging table but that wasn't working very well. For one thing, it ate up way too much space. When all that clay was spread out you couldn't use the table for anything else. So Chris decided to make up some plaster blocks of our own.
A quick trip to HD netted some plaster of paris powder (much cheaper than the stuff sold at craft stores) and I sacrificed a cake pan that I didn't like but that just happened to be the exact size needed to fit perfectly on the wheel. See, as long as he was going to be playing with plaster blocks he figured he'd make some actual bats as well. He'd read that if you used a plaster bat you didn't need to actually cut your work off the bat to dry it. You just let it dry right on the bat and the plaster would wick the moisture away from the bottom. When ready to trim, just pop it off. We'll see how that goes and report back later.
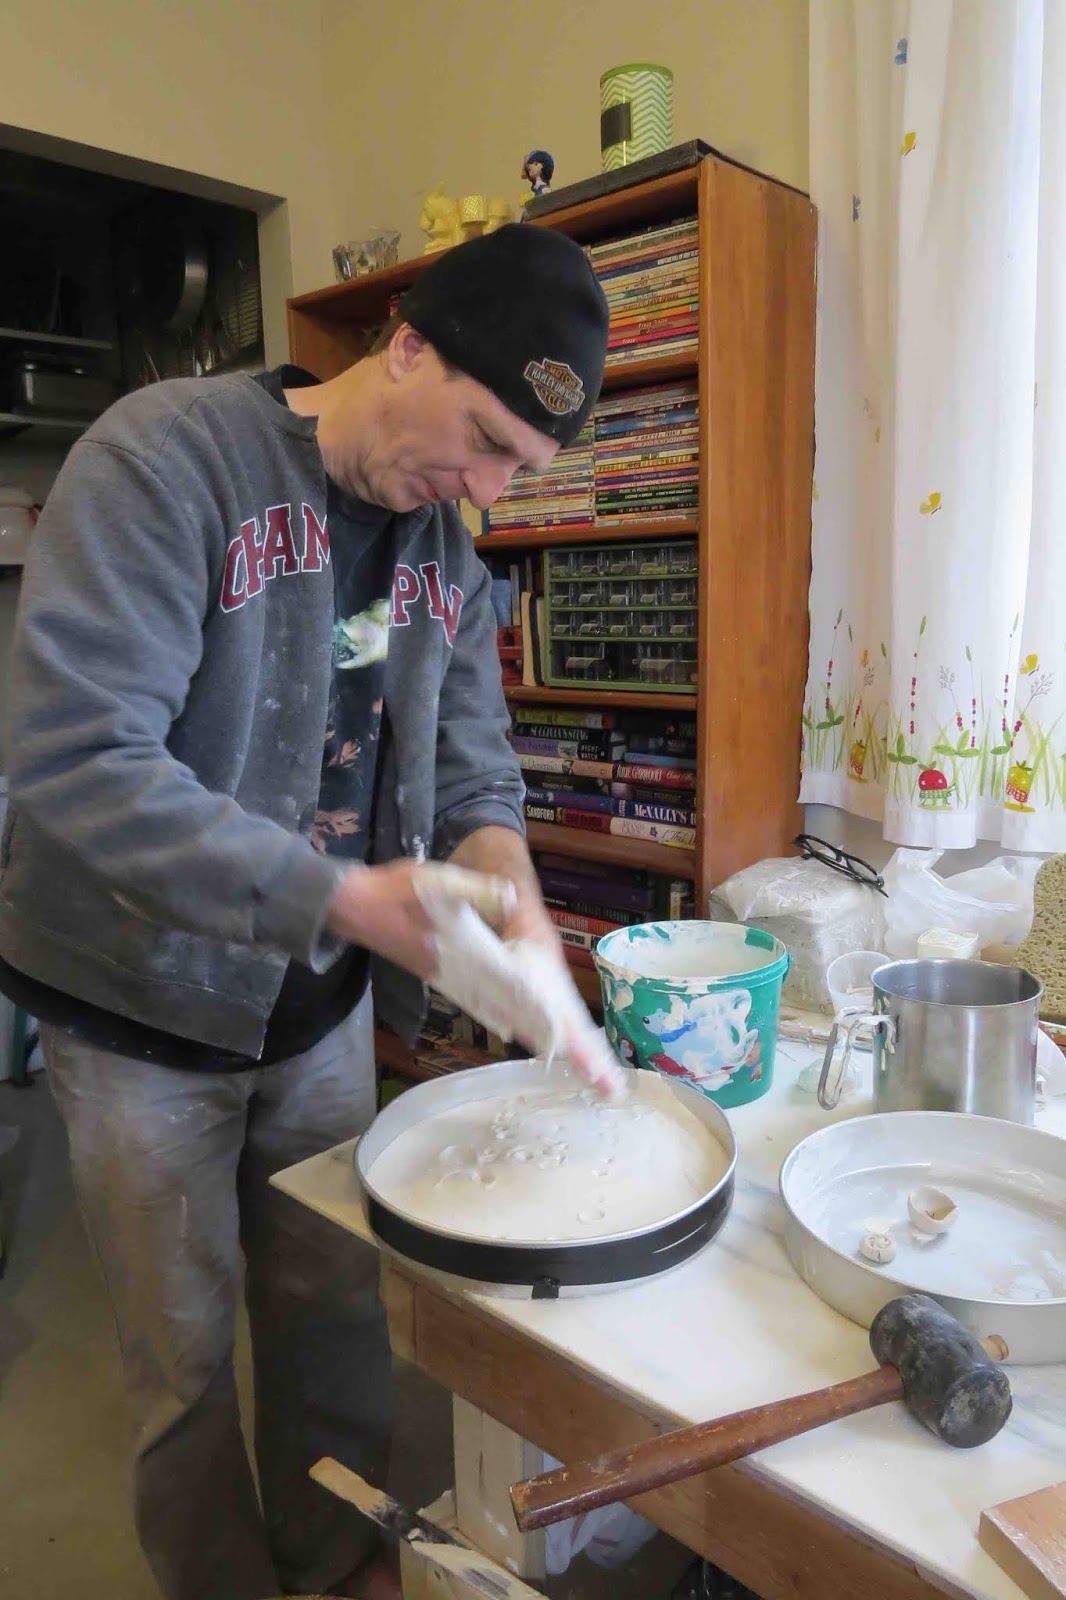
He mixed up a bunch of plaster in the famous 5-gallon bucket. Man these things are handy. Put a good coating of petroleum jelly on the pan as a releasing agent, and poured it in.
 |
| Looks like cake batter, doesn't it? |
It was really goopy.
 |
| Getting it all out. |
Then he did a test fit on the wheel - perfect size! Just had to let it dry.
 |
| Fits! |
Unfortunately, when it came time to take it out of the pan, it was stuck. Firmly and completely stuck. A quick internet search gave us stuff to try if the plaster won't release: heat the pan to melt the jelly; bang the pan with a rubber mallet; pour on a bit of water and let it seep into the edges and release the seal; drill through the bottom of the pan and push it off. Tried them all; none worked.
So Chris cut the edges of the pan and and hinged it open. That worked!
 |
| You can just see the cut line at about 1 o'clock |
Then he taped the pan back together, covered the holes in the bottom, and used it again. After all, now it would just hinge open and easily release the plaster. And he'd spaced the holes perfectly to sit on the bat pins on the wheel so it was still usable - cool!
 |
| He used electrical tape to hold the pan together. |
While we had extra plaster we made a couple press molds. I used an interestingly shaped button for one and did a carving in the larger cupped mold.
 |
| Potential press molds |
Once the plaster dries you peel off the clay and have a shape you can press into your leather-hard pottery. Then the shape stays there when fired. Kinda neat.
 |
| Making a grab handle |
I'll show them in use later. We've also got some pieces back from the kiln that I need to get pictures of. So an update soon!


No comments:
Post a Comment