I’ve made good use of a variety of videos showing how to make continuous bias tape but really wanted a quick and simple photo series to serve as a reminder. Our internet is frustratingly slow and unreliable so I didn’t want to have to wait for videos to load when I just needed a quick visual.
So here we go with my own. I strongly recommend you look at videos if you’ve never done this before. I doubt this will be sufficient to actually teach the technique.
Cut a square of fabric. Line up with warp running away from you. Be sure the darn picture you take is actually oriented properly, not sideways like this one.
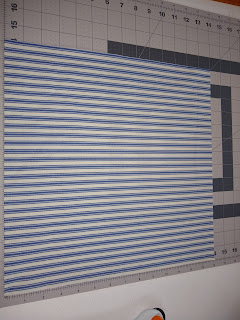 |
| I’m standing with stripes running away |
Take top right corner and fold down and left to form 45 degree angle.
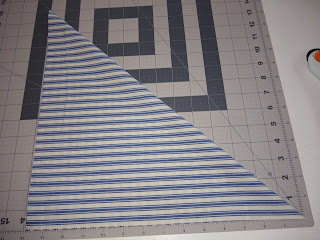 |
| Now it’s oriented correctly! |
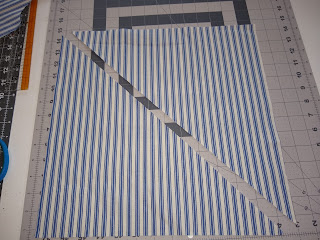 |
| Two triangles |
Flip the bottom triangle up and match right sides together to form this shape.
Pin edge and sew with a quarter inch seam.
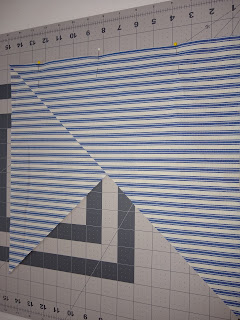 |
| Darn orientation changed again |
Once sewn, press open seam and lay out as a parallelogram.
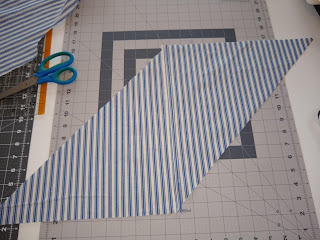 |
| Seam is vertical away from you |
Draw lines on the wrong side of fabric the width you need for whatever bias tape you’re making. I wanted 1/2 inch double fold so marked 2-inch strips.
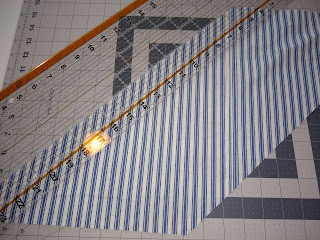 |
| Draw all the way down the fabric |
You’ll likely have a bit left at the edge that’s less than your 2-inch requirement. Just trim that off.
Match the lines but offset to one side (see how the tails stick out?). That’s so you can cut a continuous strip rather than disconnected ones.
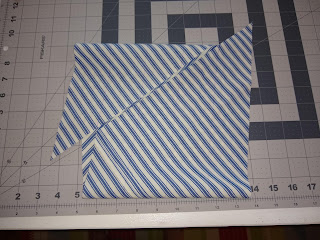 |
| Line up drawn lines |
Now the weird bit. Put a pin on the line a quarter inch from the edge. Then pin through to the matching line on the other side, also a quarter inch down. Straighten the pin and the very edge of the drawn lines will slide off each other but the edge of the fabric will match. Do that to the next one too and you’ll see the edges meet up across the fabric without wrinkles or gaps.
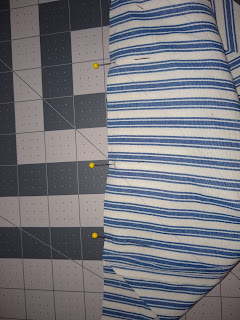 |
| Ready to sew |
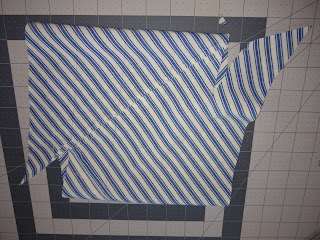 |
| Strip started in upper right. |
That’s it. Like I said, you probably should check out some videos, but this will be enough of a reminder now that I’ve done it a few times.


No comments:
Post a Comment