Monday, October 14, 2013

Miscellany

Some random pictures and notes.

Have you ever noticed a dirt patch after a hard rain. Looks like an alien landscape, doesn't it?

Mars? Nope!
The cat has decided that she doesn't need window sills per se. A ledge is plenty wide enough.

How is this even possible?
 Turkeys! Opened up the back door to this sight the other evening. Counted at least 24.


The great turkey migration


Friday, October 11, 2013

Soffits

Next up on the building agenda is exterior finishing work: soffits, board & batten siding, garage doors, and gutters. We priced garage doors and gutters and decided to hire those rather than DIY. Could we do it? Yes. Was it worth it to hire someone else? Yup. Especially as we're now free to stain and install 2,000 square feet of board & batten siding. Yee ha!

But first we needed to put up the soffits. This is actually pretty straightforward. Buy plastic soffit material at your favorite hardware store. Get F or J channel depending on your setup (we used F channel). Mount channel to decorative edge board (the 1x8s that I stained black). Mount decorative board. Mark level line on house side and nail up another channel. Then snip the soffit to size and slide it in. Simple. Time consuming. 
Finished soffits on first and second floor of south side
The south side went quick as it's not too far off the ground - we didn't need an extensive ladder set up. Just a couple ladders and a scaffold board and we could work on 10 feet at a time.


The east and west ends weren't as friendly. We first tried a Rube Goldberg set up of scaffolding and ladders and quickly realized that neither of us were setting foot on it. So we got out the extension ladders and wrestled those around instead.
Before soffit (and insanely dangerous setup)
The soffits not only give the house a more finished look - they keep critters out of the eaves.
Installing soffit

After soffit
The west end was a bit simpler once we added the truck as a ladder base. Actually used the truck bed rail more than the ladder as it was incredibly stable.
Just use the truck

West end done!
The upper gables are not done yet. We're going to rent a man-lift to do those along with the siding all at the same time. So now it's on to the siding!

Tuesday, October 8, 2013

Garage interior is done!

We finished the second bay of the garage! This was very exciting as it paved the way for the next several projects. 

Perfect washing weather
The weather was great during this time period. Which made it a bit tweeky to be working inside the garage rather than on outdoor projects. But good weather makes for faster drywall mud drying so we were pretty darn happy.

Before mud
We quickly filled the garage with tools and trucks.

Tools!
Trucks!
And got started on the next project - framing the garage door openings. Yes!

The red board is our color test board for the siding. You'll be seeing much more of that soon.

The garage door guy gave us precise instructions on framing the garage. Really. He did. So we got the wood together and started nailing.
One side framed
I learned a new skill - using the jig saw.

Just follow the dotted line
Took us a couple mornings to get them done but they're now ready whenever the installer arrives. Should be soon.
Both doors framed

Friday, September 13, 2013

Sneak peek at new kitchen cabinets

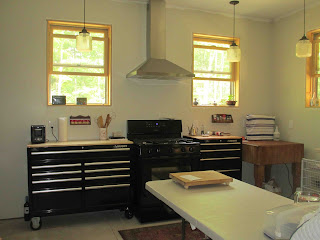
Chris will be building me my kitchen cabinetry someday. I'm in no hurry as it's going to take some time to design what I want. I love to cook and I sure don't want to do any of this over again. In the meantime, we've set up a functional space for now and I didn't have any plans to improve it until the rest of the house was pretty much finished. Except we were in HD the other day and I saw something that made me go "huh". 

See, I've got an industrial vibe going in the house. Sort of farmhouse meets work shop. For example, this was my solution to needing an outlet over the island:

Retractable extension cord
Directly under that window in the background was a 4 foot plastic table that bookended the stove. A matching table was to the right of the stove. They provided functional work space but absolutely no style. After my "huh" moment, we took them out...

Before...
And I put this together...

During...
and ended up with these:

After!
So far everyone with testosterone has loved them. And they've all asked if I intend to keep them. And then they've offered to buy them if I decide to give them up.

I don't think I will though. Because I love them too.

Some details: the left cabinet is 46 inches wide while the right is 27 inches. Both came with hardwood tops. The drawers are rated for a variety of weights, the lowest being 50 pounds, the highest 100. The drawer glides are ball bearing and open very smoothly. The finish seems very tough and they recommend buffing with car wax once a year. That's probably not something you typically do in your kitchen, is it? I've been having entirely too much fun organizing the drawers. Pictures will be forthcoming.

In case anyone is wondering, I intend to have Chris build me floor to ceiling cherry cabinets on the left side of the room. The right side will have my antique sink and more cherry cabinetry. The center island will not be a plastic table. It will be an antique wooden optometrists cabinet (lots of drawers) with an oak top and bakery marble at one end. It's sitting on the porch right now waiting for some refinishing before its turn to move into the kitchen. Maybe it won't take me as long to design it as I thought.

Thursday, September 12, 2013

Hiking

My friend came to visit and we decided a hike was in order. Since neither of us have done any hiking recently we figured a fire tower would be the perfect goal. Not too long, not too steep, and a great payoff at the top.
Hadley Fire Tower
Took us about 2 hours to climb the 3.2 miles to the top. We were doing quite a bit of huffing and puffing on the way up.

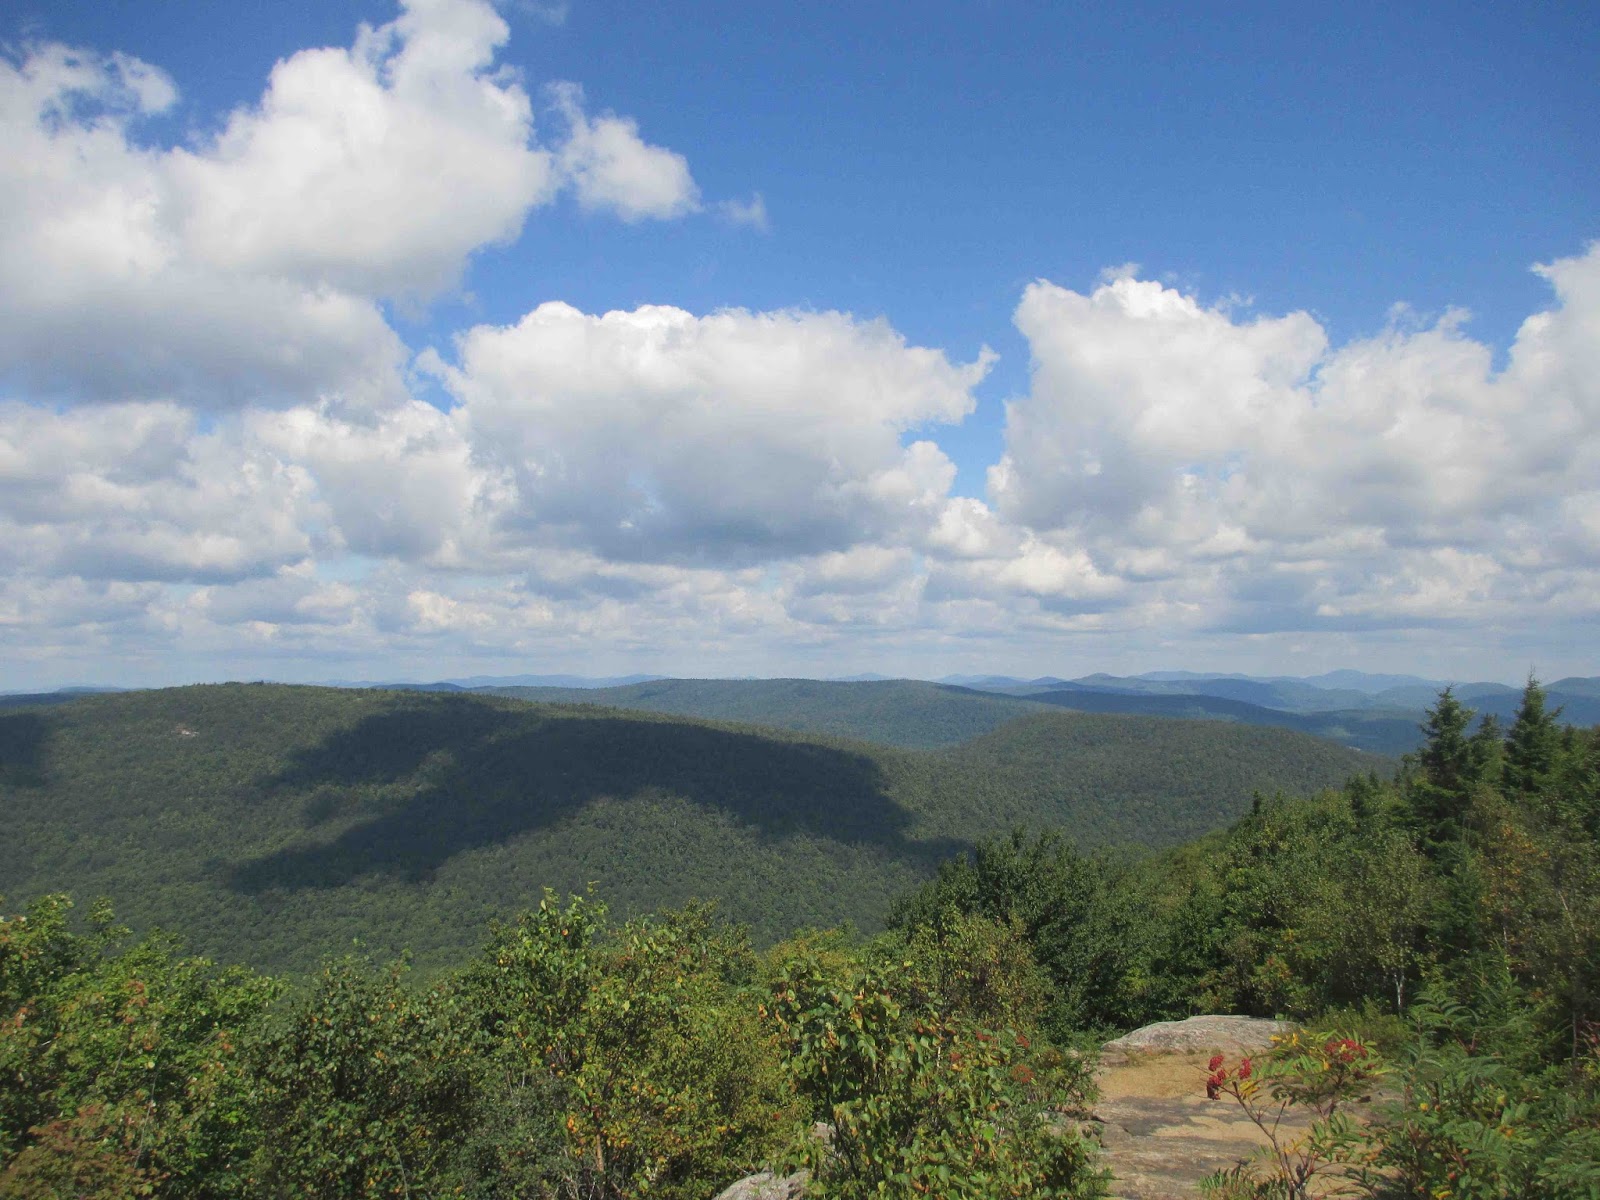
But even before we got all the way up, the views were incredible.

Not even at the top yet
The tower is actually open for climbing although there was some caution tape 3/4 of the way up. We wisely opted not to cross the tape.
Restored tower
The day was gorgeous, the blueberry bushes were full, and we were there so early that no one else had done the climb yet. 

We had this view to ourselves.


And it was awesome.

Tuesday, September 10, 2013

The exterior work continues

We're still sporting Tyvek style on the exterior of the house. I know this stuff is tough but I really don't want to go through a full winter with it still exposed. So we're working on finishing up the soffits as that's step one before putting up the board & batten.

We're staining the trim black and using the typical white plastic stuff for the venting. Started with a semi-transparent black but didn't like the coverage so we've switched to a semi-solid. Much better.

Lot of wood!
And what is the well dressed stain master wearing nowadays you may ask? Why slippers of course. I realized the other day that I rarely wear shoes anymore. A fashion maven? No. Comfortable? Oh yeah. 

Perfect outdoor footwear
Anyhoo, we also picked up some sample pots for the board & batten. I've always envisioned the house color as "natural". I styled the place after a classic horse barn and bare wood is how I've always seen those.

However when we put natural stain on our pine boards, it turned them orange. Not good.

Hmmm, not quite the color I had in mind
 So we thought we'd try another classic barn color - red!

Classic
I like this much better and think it will look great with the black trim boards.

Other guests

In addition to the deer and snapping turtles, we have hummingbirds.


We've had four or five all summer and are now down to just two.


They are surprisingly aggressive and spend a good bit of time fighting despite the abundant food available. 


We have a feeder at either end of the porch and they love to weave through the trusses as they race from end to end. We'll definitely miss them when they fly south for the winter.