So, we have a well. Awesome. Now we need to get the water to the house. A minimum three foot deep trench is dug between the well head and the house. Hopefully you thought ahead and installed a water chase under the foundation so the line can come up into the house through the slab instead of having to come in through a wall (yeah Chris for thinking ahead!).
 |
| The well head |
 |
| Digging the trench |
 |
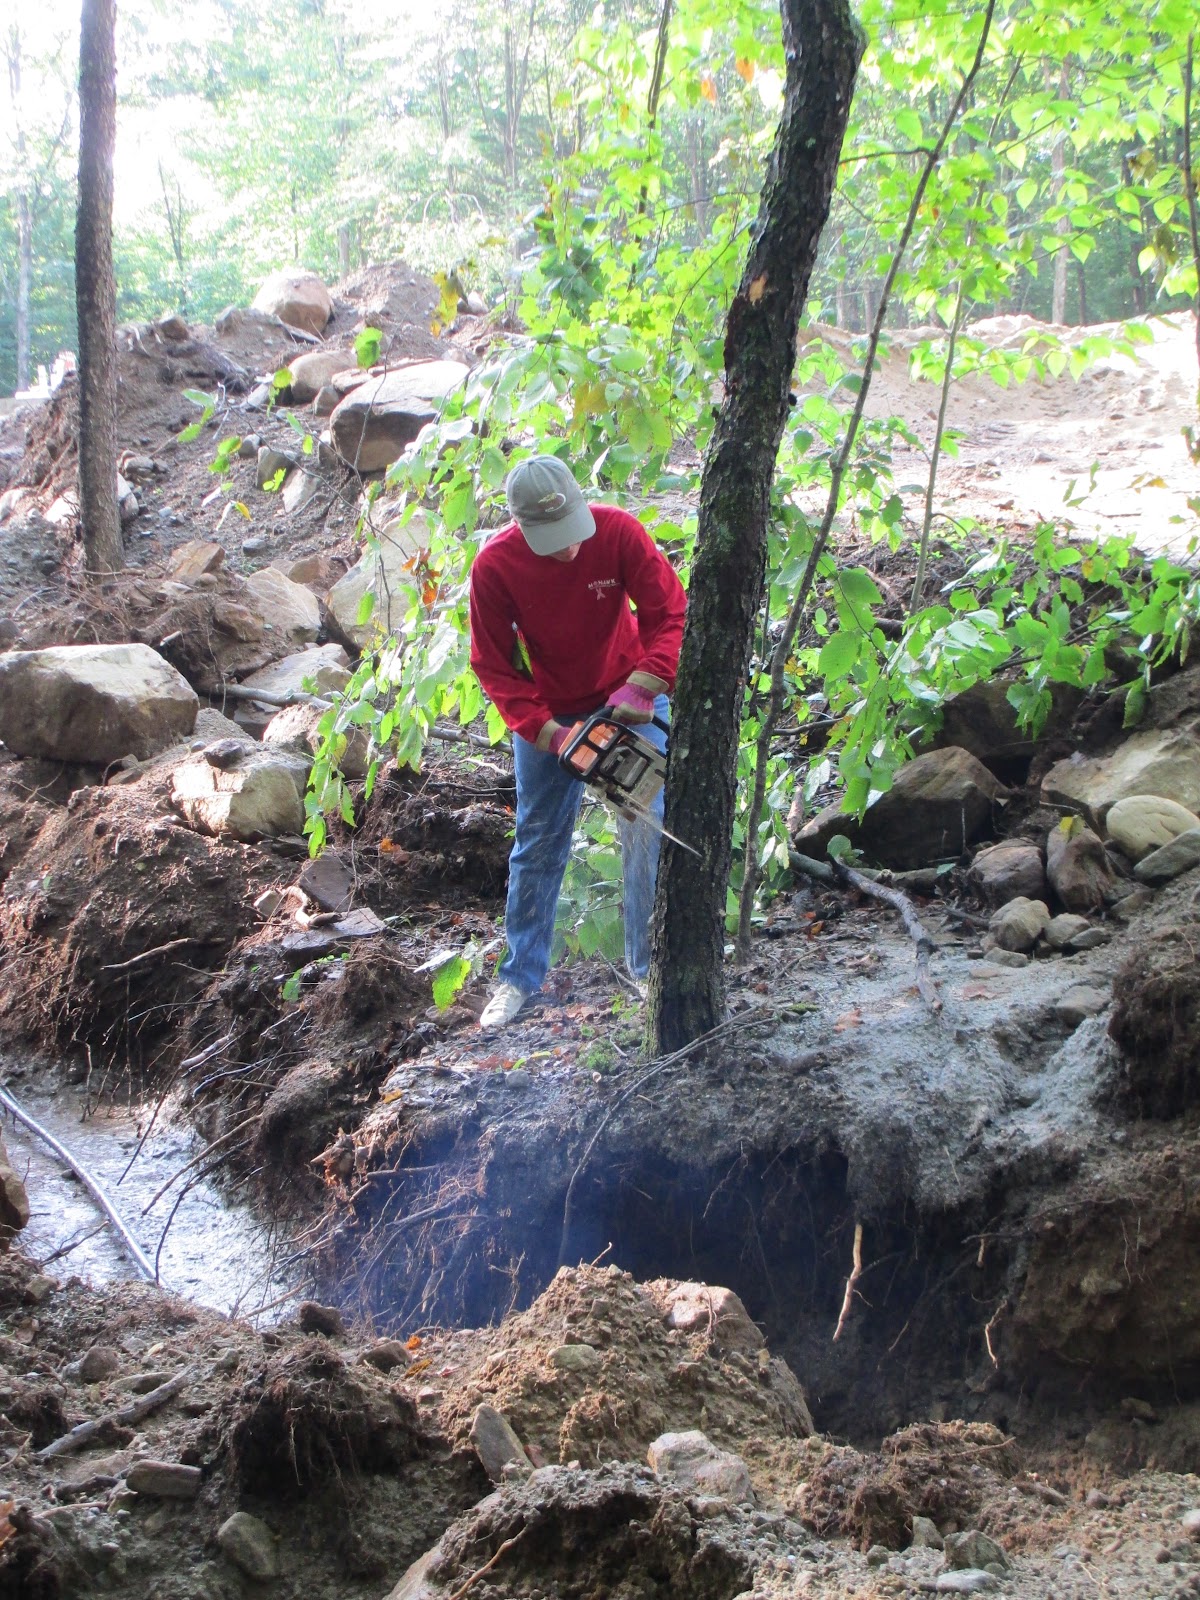
| This tree must go |
Note the flexible pipe in the bottom of the trench. At this point it's exposed and could get crushed if a rock fell on it. Since we'd rather not have that happen, we'll run it through a 3" pipe as a chase to the house.
 |
| Oh look! A chase! And my shadow! |
 |
| Water and electric line through chase |
Ran into a bit of trouble pushing the honking big water line through the chase leading under the slab. It kept catching on the lip of the elbow even though we duct taped the darn thing into rounded knob (no jokes and thankfully no pictures - it was a bit obscene).
We thought the elbow might have gotten knocked off the pipe by compression weight from the various cement trucks or when the backfill was being put in place, so we decided to dig out the backfill next to the foundation wall to expose the join. This was not a happy decision and we did much "shove the damn tube harder to see if it would go through" and "what if we used a flexible piece of Pex from the other end" before starting to dig.
Digging right next to your new foundation is not fun. Let's just say Chris is a dab hand at the backhoe and he did a great job of not knocking the foundation wall. We finished up with shovels (lots of digging in 90+ degree heat and direct sunlight) and found that the join had not separated, the tube was just being stubborn. So we took a break, came back refreshed, and maneuvered it through right at the elbow. Amazing how being able to see the join - and stick your arm into the curve to guide the line - makes a tricky job a bit easier.
So! Success! We have a water line and the pump electrical line now running into the house.