Wednesday, July 18, 2018

Running water to the garden

I've been using hoses to run water up to the garden area but now that we've got it all spiffy looking we figured a more permanent solution was in order. Particularly a solution that would allow Chris to mow up there without having to worry about chopping hoses all to hell. 

We bought some Pex tubing and stretched it up there so that it could relax. 

Coils of Pex
 Then Chris dug a hole near the garden and put in an entrance.
Choosing the spot
Dropping pipe
Once the Pex was connected he used the tractor to dig a shallow trench and bury the line. It can be shallow because we'll blow out the line each year rather than let it freeze.
Water through the woods
The Pex comes out in the hosta bed near the house and when I want water at the garden I run a hose out to it. I didn't want a permanent water line from the house as that would be harder to install (it would have to run under the concrete carport) and to maintain (would have to dig below the frost line so it wouldn't freeze). This is quick and easy to connect with the added advantage that I never forget I've got the water running.

He used some old barn wood to create a cover for the line and it now looks like it's been there forever. We haven't done anything to cover the connection near the house yet but I expect it'll be something similar.
Awesome cover
My hose management system stinks at the moment since I didn't anticipate getting this water spigot this year. The soaker hose entrance is on the other side of the garden and I'm not disturbing plants to redo it. So at the moment I've got hoses running everywhere - though none are where they can be mowed so that's a win! I'll get everything laid out properly for next year and it'll incorporate the new rain barrel we're putting up there too.

Saturday, July 14, 2018

Moving the Latrine

Way back in 2009 when we built the little camp on the property we also built a latrine. 

Subtle, huh?
This was not an outhouse but rather a private spot to use the composting toilet. Which means it didn't have a hole in the floor nor did it get gross with excrement. Which is fortunate because once we got indoor plumbing I repurposed it to a small garden shed.

Then in 2016 it got repurposed again when we turned it into a temporary chicken coop

See the chicken?
Of course, temporary implies impermanence and sure enough the chickens were moved into the permanent coop by the end of that summer. Which left the latrine/shed/coop stranded in the middle of the yard where it quickly became a storage shed again.
Sad and lonely
This year solved both the location and the usage issues. Once the camp garden was all set up we decided to once again move the little building to a new location. It makes me nervous when we move this thing but Chris is a dab hand at tractor work so it went smoothly. The hardest part was keeping it level when going up the steep driveway hill. 
Careful...
Argh! Don't let it tip!
Whew!
I want it around the back...
Yeah, in the corner closest to me. 
Um, it'll never make that swing...
I had doubts but Chris wedged the tractor into the corner and we wiggled the shed onto the stone foundation, and it all went great.
Setting foundation stones
It's now officially a garden shed (again). I removed the pop door shade cover but left the nest boxes. They're held closed with just a magnetic clasp and I keep my small hand tools in there where it's easy to grab them.
Wonderfully functional
We're going to put a gutter and rain barrel on the back so that we can set up a drip irrigation system for the garden.  And I desperately need to paint it. If you look at the photo where you can see the door you'll note that the walls and door are two different colors. The whole shed should be the color of the door and it will be very soon. Funny that I lived with it like this for years. Years! You just get blind to some thing I guess.

Wednesday, July 4, 2018

Planting the camp garden

The last update on the camp garden showed that we had it ready for soil to arrive. Here are a few reminders of what it looks like before all the hard work:
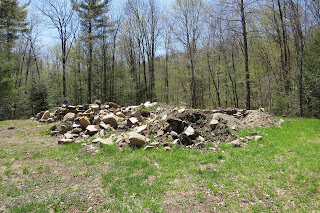
Lots of potential?
A well stacked corner
The stairs and cardboard underlayment
So we were ready to fill in all that lovely space with topsoil and get planting! Except the dirt got delayed. There I am, seedlings ready to go into the ground, and I can't plant for another 10 days. Argh.

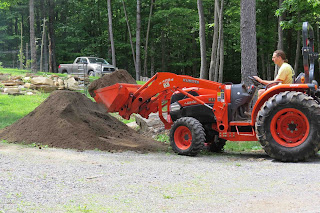
Chris, of course, used the time wisely, and dug up some of our more annoying semi-buried boulders. They made it impossible to easily mow and keep up the cherry grove.

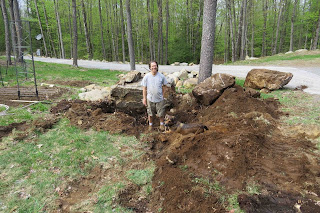
That's actually a huge hole
The plan was to dump the dirt in the hole, pull out enough to fill the garden, and then smooth anything left. Good plan.

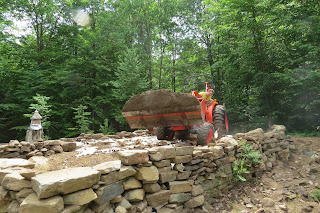
Ten yards of topsoil just disappeared 
Carefully coating the garden area 
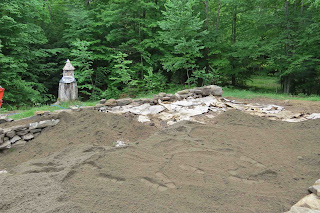
Dumped and hand raked 
The fresh dirt is coolest 
Wild roses left in the garden wall
We used the full 10 yards between the hole and the garden and realized that we really should have gotten 20. Darn.
Tomato cages add color
 I planted lots of stuff:
Marigolds, tomatoes, kohlrabi 
Sunflowers, cauliflower, tomatillos, jalapeno
Marigolds and dill bed 
Cokes, Zukes, summer squash
Hubbard squash
 I ran the soaker hoses and left a lot of room for squash plants to run and I'll have space to succession plant.
Basil and another dill bed, tomatoes
 But a couple weeks later, everything is starting to fill in (this was taken mid-June).

Homemade tomato cage
And now that we're into July, well, I've got flowers on everything and squash is starting to form. Really looking forward to some harvesting later this month.

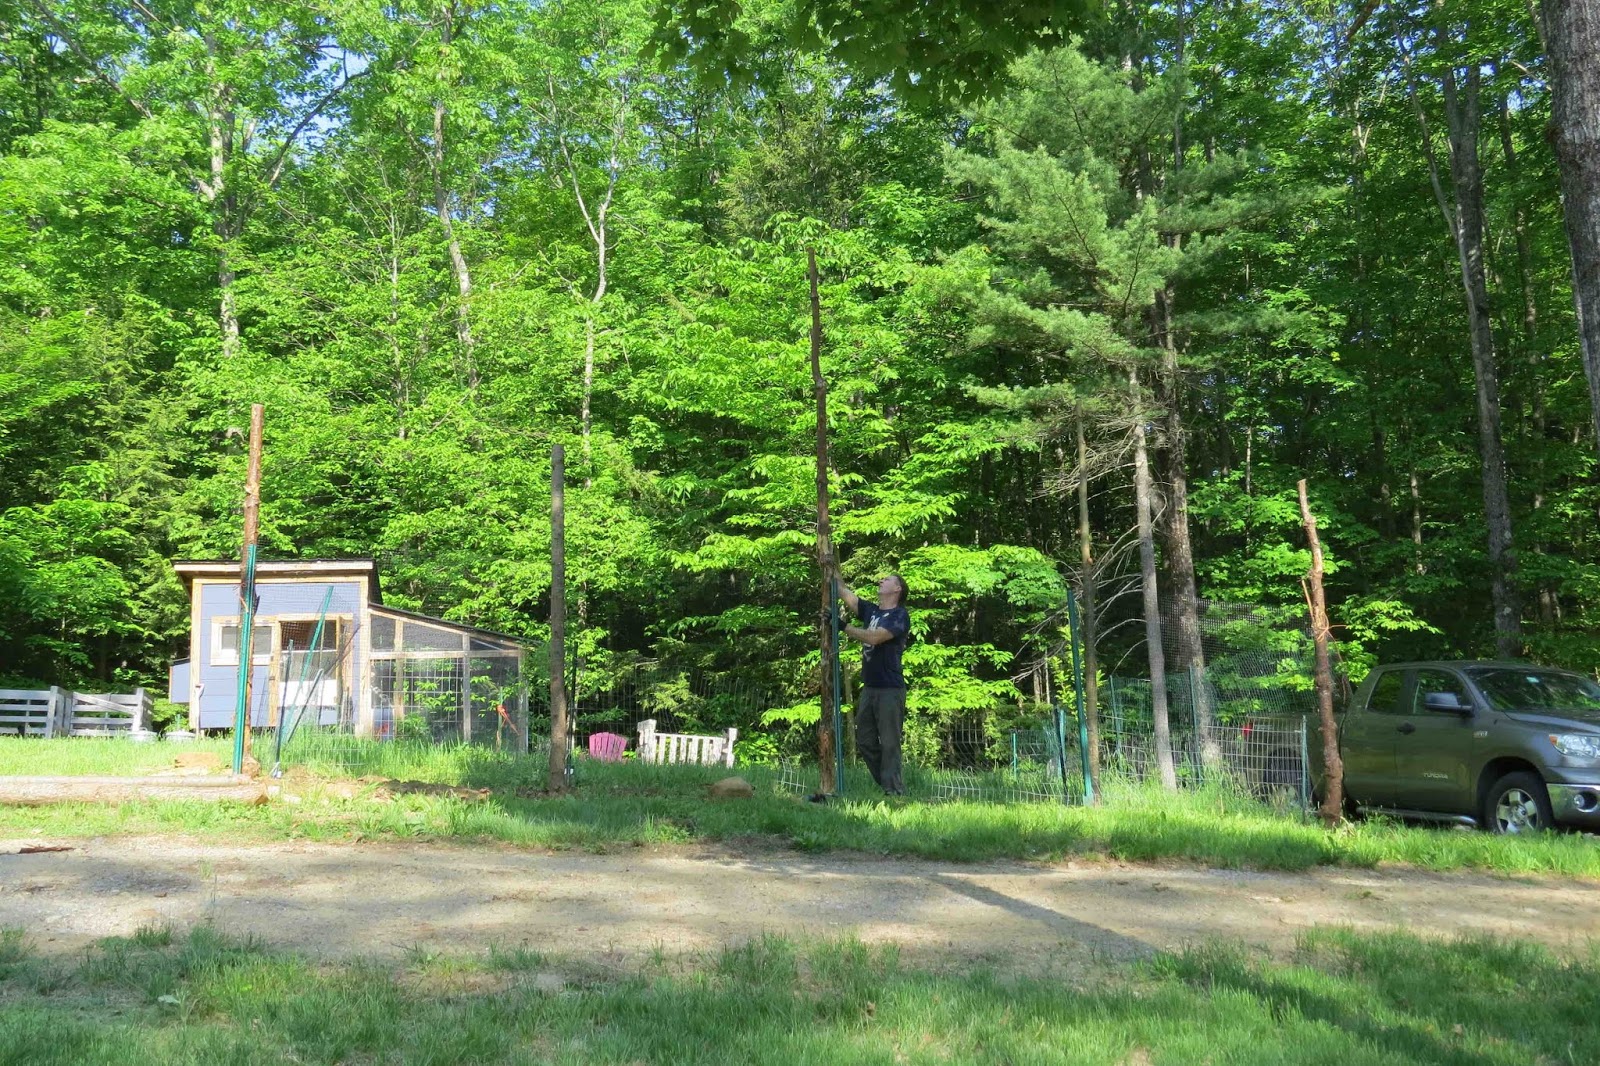
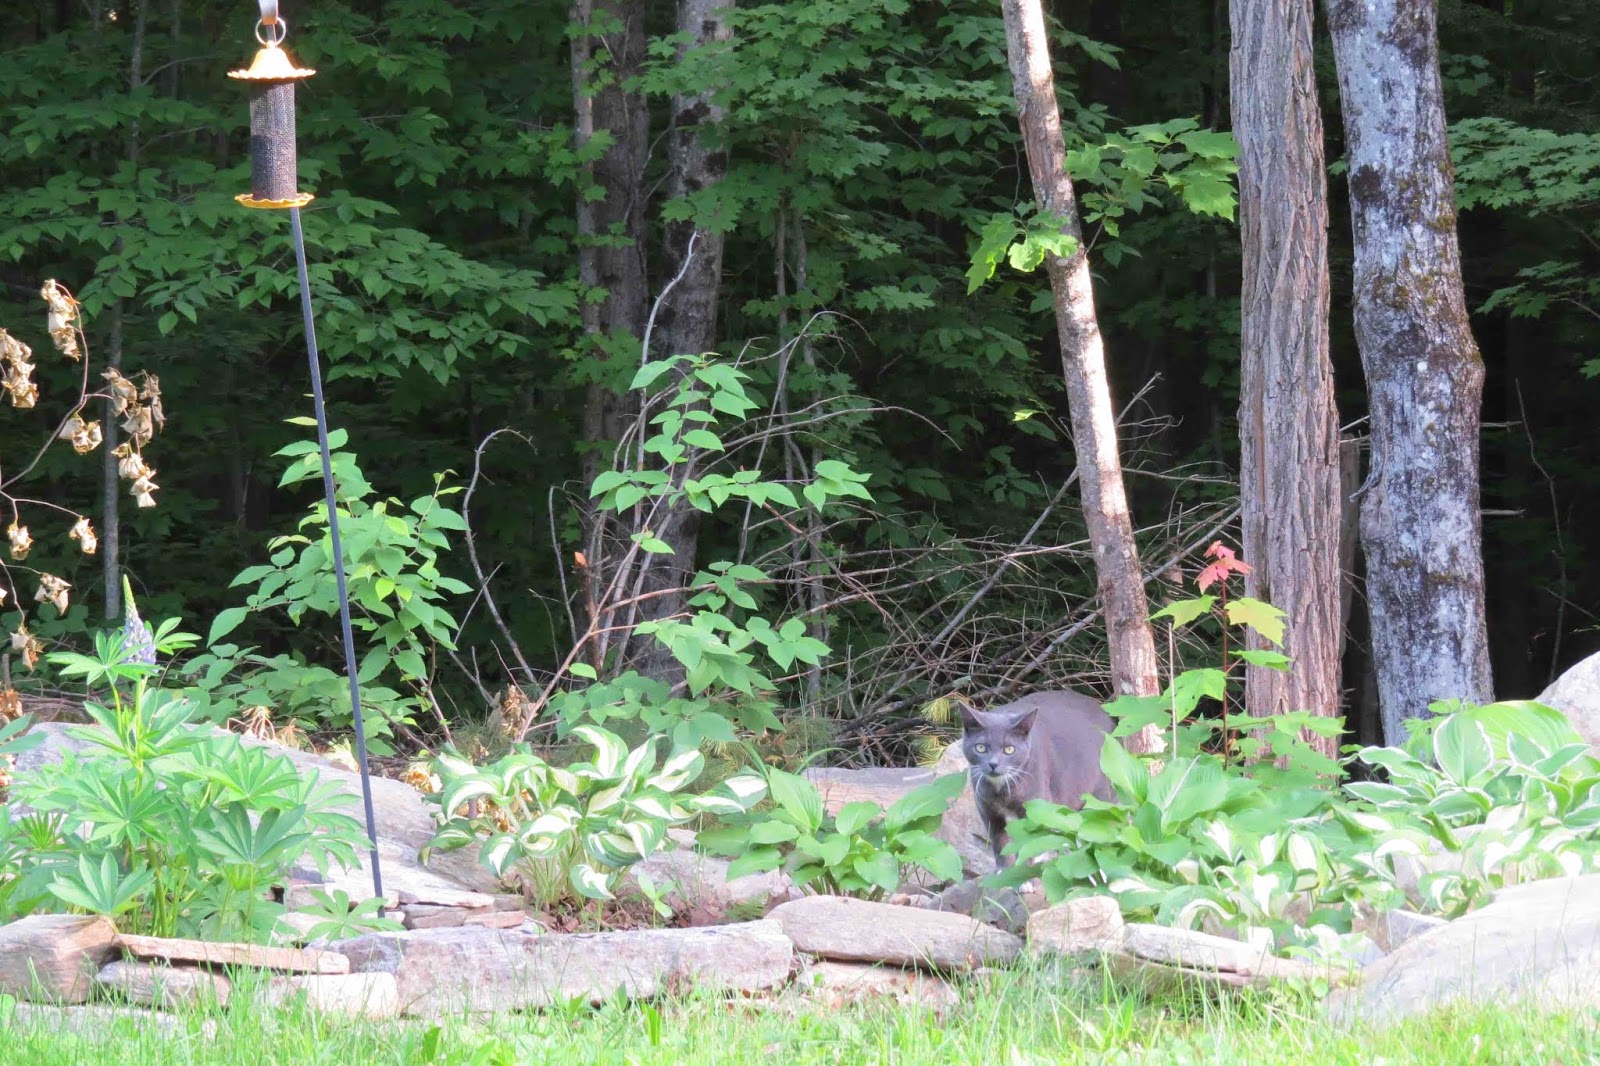
We're continuing to make improvements. The shed is now up here, the water line has been run, and I've successfully identified what has been stealing marigolds and tomato plants (I mean, come on, what eats marigolds???). More on that later...

Monday, July 2, 2018

The Chicken Pasture

After losing four chickens to marauders last year I decided I needed to stop free-ranging and start pasturing my birds. In deciding how large an area to allow them I realized that the easiest thing was to simply enclose the fruit trees in a fence that would do double duty - protect the birds from snatch & grab foxes and the trees from deer. So we cut some pine trees to act as posts and planted them around the orchard.

Planting the posts
We didn't skimp on height figuring we could always chainsaw them shorter later on. I hadn't decided on what fencing I was going to use yet so didn't want to make the mistake of having the posts be too short.
I needn't have worried about height...
We scraped the ground in between the posts to make it easier to bury fencing later on and then did a bit of scorching on a couple posts to kill bugs and season it a bit. Just an experiment to see if it helps the poles last longer.
Adding flame
I ended up going with a poly fencing that's sold as deer protection. It's seven feet high and comes in 100 foot rolls for around $30. Nice price! And although it won't stop something chewing through it, it will stop something running through it (it's not deer netting which tears if you look at it funny, it's heavier than that). And remember - the chickens are safely in the coop at night; this is day-time protection from stuff that snatches them on the run (fox!). Anything that climbs can obviously get in, but that's not as likely when we, and Cooper, are running around outside.

I buried a foot of fencing and stapled the rest to the poles. I'll add cross braces soon.
Stomping down the buried fence
It took a lot of dirt to bury the fence
Cooper keeping cool
Here's a decent picture of the fencing. And the chickens hanging out with me inside the protected area. They love the space and the grass.
Heavy gauge poly fence
The first night the fence was in place something tried to dig under it and failed. Whatever it was did manage to chew a small hole that I fixed by weaving in wire. It didn't get in though, so that's good news.

Sunday, July 1, 2018

The new cats

Cole and Satchmo have officially settled in. The ringworm nightmare appears to be over although we're in the second pulse treatment period. But Cooper never did catch it which I consider a very good sign.

So here are the new boys.

Cole in bed attempt #1
Satchmo hunting in the flower garden
Satchmo watching Cooper trying to find the chippie
Taking over Cooper's chair
I may not be able to keep calling it "Cooper's Chair"
Can you believe how big Cole is???
Jungle cat
"Who goosed me?"
"Not me!"


The better bed option